These “gold coins” are actually fabric yo yos, but could also be gold buttons.
One of my sweet customers shared this photo of a Leprechaun table runner, using my blocks. This is adorable. I love to post my customer’s creations using my pattern blocks, so please share your photos at: maryannhertel@gmail.com
Welcome to my paper piecing tutorial “#2: Sewing Segments Together”. My step by step directions are designed to help you use my “Made By Marney” paper pieced patterns.If you are piecing a combination block, you will have to paper piece each segment in the pattern, then sew these segments together. Watch “Tutorial #1: Paper Piecing a Segment” if you are a beginner before watching this tutorial.
The Penguin block I am using in this tutorial is a FREE download and will be available on my website starting on Tuesday, February 6.
Step 4: Bend the paper pattern out of the way and trim away any excess seam allowance beyond the 1/4″ needed.
Step 5: Flip fabric 2 in place behind piece #2 and press flat.
Step 6: Trim away the excess fabric, leaving a generous 1/2″ beyond what is needed.
Step 7: Position the fabric for piece #3. Again, I am bending the pattern on the stitching line so I can peek under the pattern to help place my fabric to allow about 1/2″ of seam allowance. (I am always generous with this seam allowance, especially for beginners.)
Above, you can see that piece #3 is stitched, pressed in place, and the excess fabric has been trimmed. Continue to add pieces in numerical order.
Above you can see that section C is now completed.
Trim the seam allowance 1/4″ from the red line. Segment C will be sewn to Segments A and B along the red lines.
Step 8: This a close up showing how I match the seam lines for segments A and B. Poke a straight pin through the seam line of segment A and match it with the seam line on segment B.
Pin the segments together. Sew on the seam line.
Rip off the paper that is in the seam allowance on each side.
Press the seam to one side. Here is segment A and B sewn together and pressed.
If you need any further assistance, contact me at maryannhertel@gmail.com
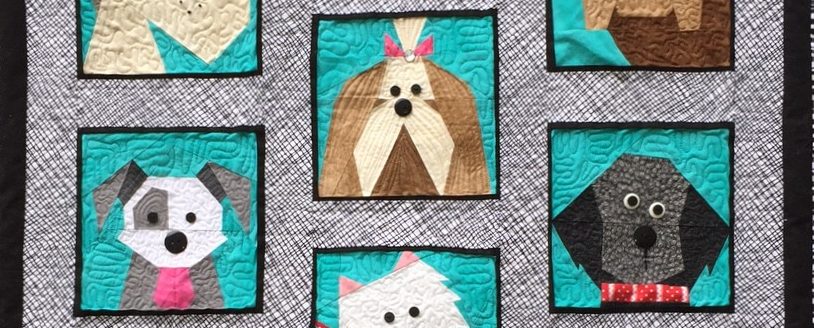
Everyone seems to have that special pet in their life. Here is a sample of my “Dogs Only” paper pieced quilt done by my sweet customer, Jan. Didn’t she do a great job? I love when my friends share their photos!
This quilt was designed using photos of real pets sent to me by my customers and friends. They were my inspiration.
Here is a charity quilt sewn by Faith. She used just 1 of my block patterns, then added lots of borders. Very clever, especially if you want a fast project! Thanks for sharing, Faith.
And here are 2 very cute pillows shared by Edie. These pit bulls are named Duece and Daisy, as you can see. Edie used my Pit Bull pattern.
Here are some other dogs that I designed from customer’s requests.
And, 1 of my all time favorites, the Chinese Crested. When I was asked to design the Chinese Crested, I asked if that was a “bird”! No kidding, I had never heard of it. After finding out it is a somewhat hairless dog, I thought, “Oh my, this block might be really ugly!” However, it turned out to be one of my faves. It reminds me of a little fairy dog.
Thanks to all of my wonderful customers and friends who share their photos. It means a lot to see how much you enjoy your paper piecing. If there is a dog pattern you want, and don’t see it on my Etsy shop, please let me know and if you can share a photo of your pet, even better!
Hello to my friends everywhere! Today I am giving a special shout out to my friends and customers from Australia. I was fortunate enough to have my latest book, “Sew Yourself A Merry Little Christmas” previewed in their magazine, “Down Under Quilts“.
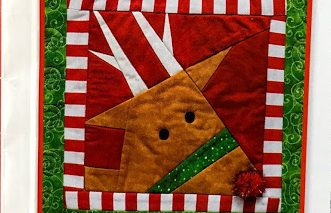
There I am on the cover…well it’s not really me, but my Rudolph.
The magazine shares a FREE pattern block “Present” from my book and the instructions to make it into a placemat.
I am very busy working on some cute designs for Valentines/Winter. There is an upcoming BLOG HOP that I want to share with you. In February, I will be participating in the “Put A Little Love In Your Heart” Blog Hop from February 5-8.
This is right around the corner. Everyday different quilters will be sharing a FREE pattern with a heart in it. This sounds like so much fun. I can’t wait! I will keep you posted as this fun event approaches. Some of the sights, including mine, will be offering give-aways, too.
I’ll let you know what my give-away will be next week! Stay tuned…
Hi everyone…thanks so much for stopping by. Here are my 5 favorite posts of 2017.
My Jolly Old St. Nick was one of my favorite patterns this year for beginners. This post was very popular with new and experienced paper piecers because it was easy, but cute!
I adore spending a weekend at my cabin. This loon block gives me a calm feeling of relaxation and reminds me of the lovely song of the loon that I hear when at the lake.
When my kids were little, they loved hearing nursery rhymes from the Richard Scarey book. This quilt reminds me of reading to my kids every nite before bedtime.
This is an exciting week…my interview with Pat Sloan will start airing at 3:00 pm eastern time today. This podcast can be viewed on Pat Sloan’s site or directly from ITunes at American Patchwork and Quilting Radio.
You can listen on your computer, subscribe by itunes (search American Patchwork & Quilting), or download to a player. Just click on the Dec. 4, 2017 podcast.
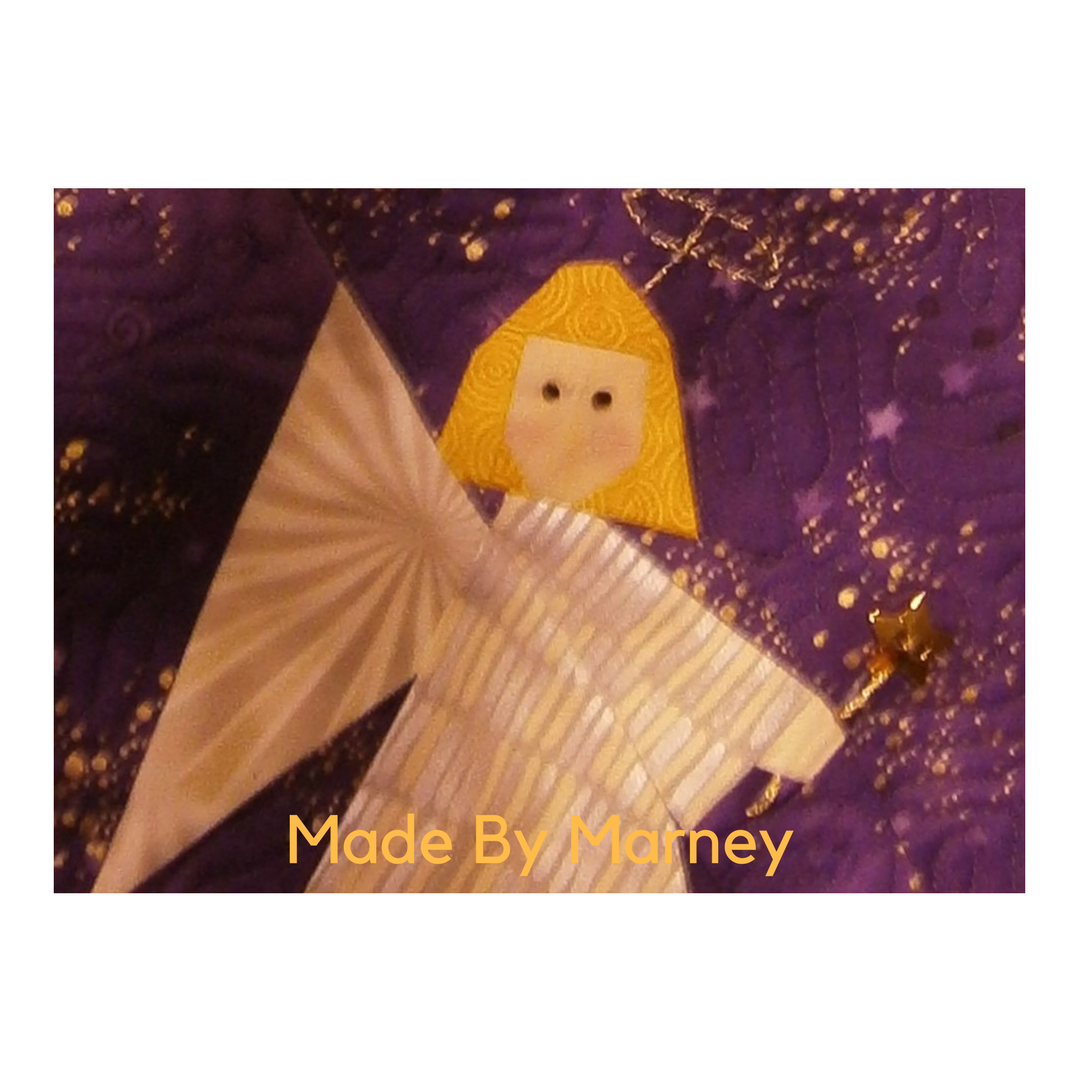
I have been having fun with this sweet little Christmas angel. I’ve used it in a table runner, but I would like to do a small pillow for a gift card. I will use the angel for the front of the pillow. On the back of my 7 1/2″ square pillow I plan to put a little pocket to use for a gift card or cash. Then later, if this pillow is going to a child, the tooth fairy can also put a “stash” into the pocket.
Here’s a sample of the table runner. And below is a close-up of the “wand” in the angel’s hand. Just stitch a line with embroidery floss for the stem and sew a little star shaped button to the end. Her halo is stitched with metallic gold embroidery floss.
This pattern is a nice mix of beginner blocks and intermediate blocks. For paper piecing directions and tips watch my free tutorials on my Video and Tutorial page right here on the website.
Please listen to my interview with Pat Sloan on her
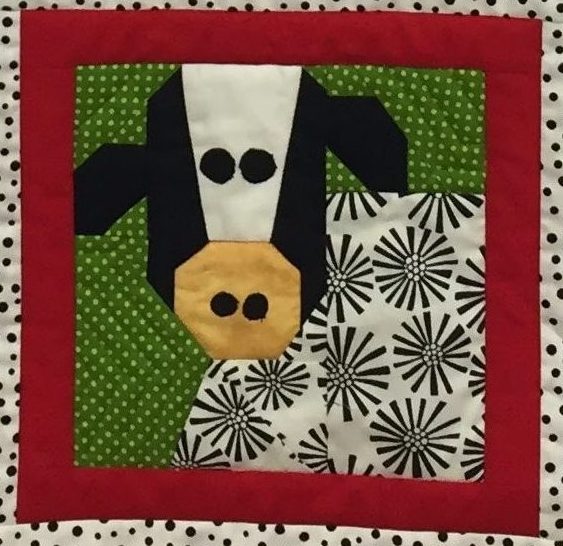
This adorable quilt was made from all of the animal blocks in my Cute and Clever Totes book. It was made as a sample for the Going To Pieces quilt shop in Appleton, WI. I love the way they took my “tote” book blocks and used them in a totally different pattern. This is so creative…great job!
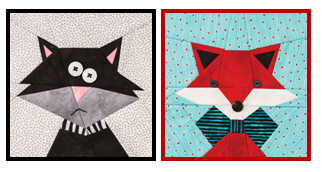
There are so many fun blocks in my book. The Cat is one of my favorites.
It’s time to announce the winners for Quiltmaker’s 100 Blocks Block Tour. The winner of my “Must Be Santa” pattern is Beth T. The winner of the Quiltmaker’s 100 Blocks magazine is Margaret Andrews.
Thanks for all of the lovely comments. Because of the volume of comments, I was not able to respond. However, I enjoyed each and every one of them!
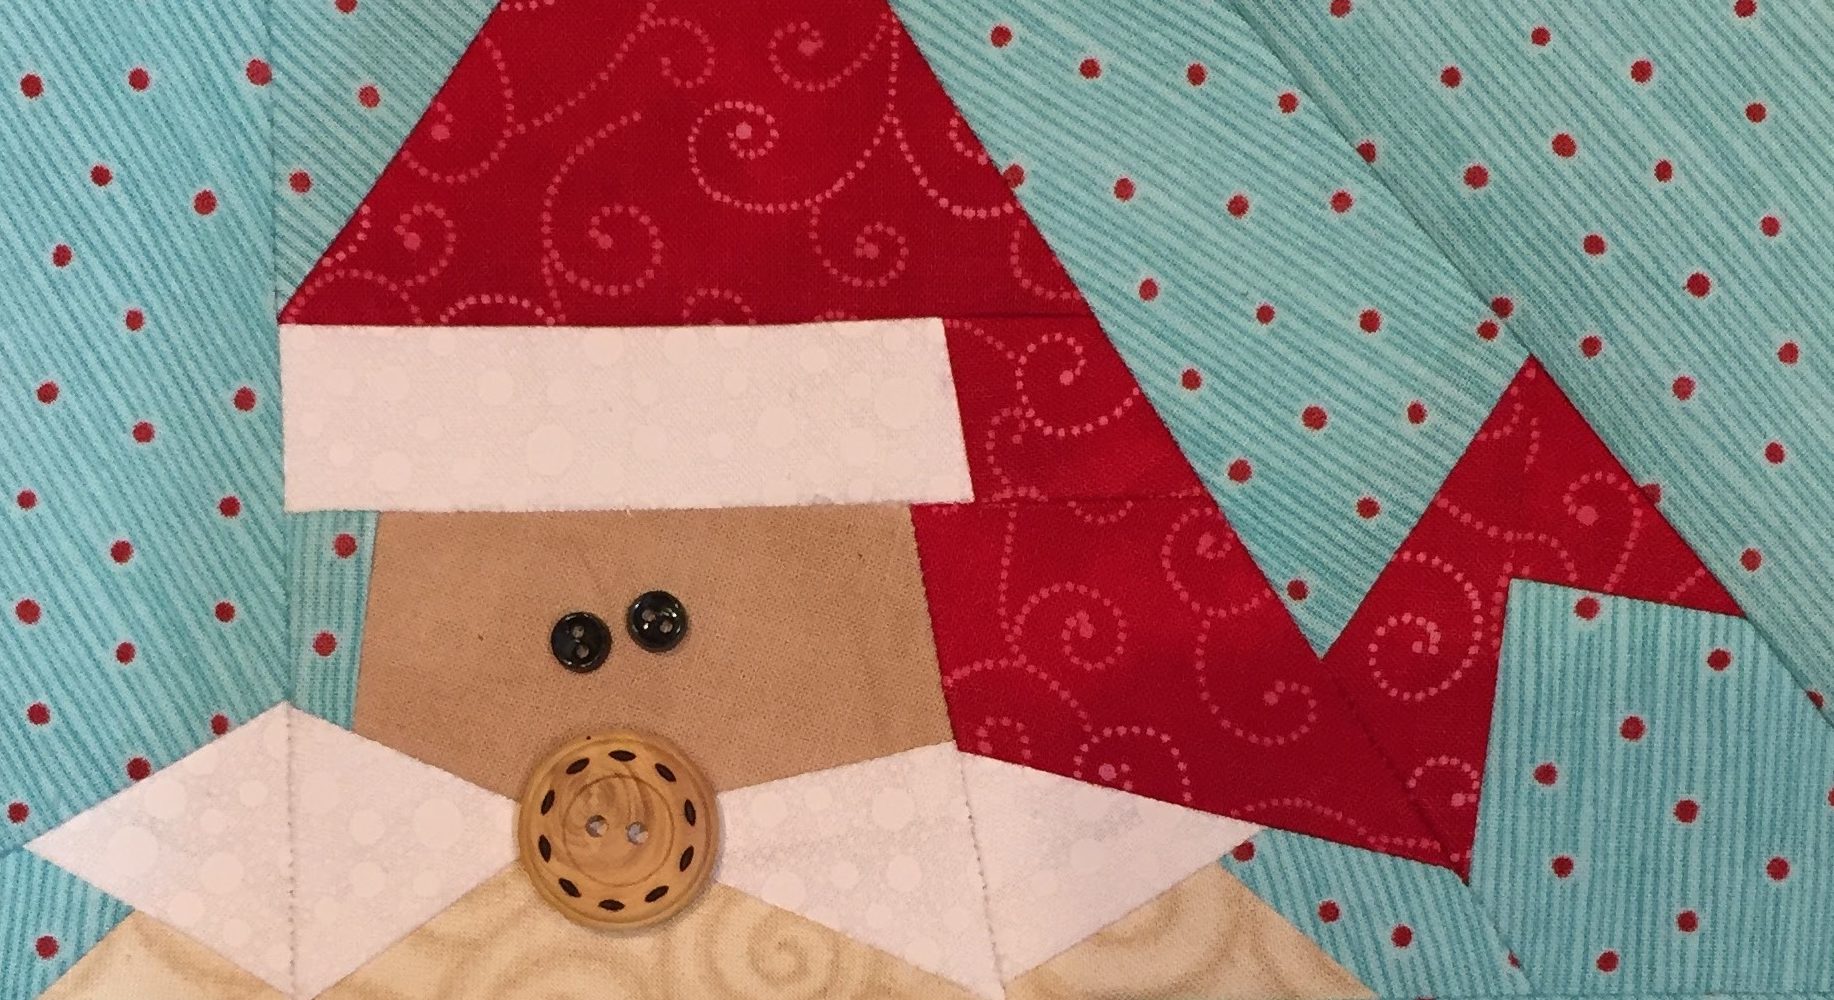
With Christmas right around the corner, I am having lots of fun designing holiday images. I call this block “Must Be Santa“. He makes an adorable pillow.
Make sure to visit my blog next week to enter all the great give-aways for the Quiltmaker 100 Blocks Blog Tour. I will be featured on Tuesday, Nov. 14. Besides getting a preview of the block I entered in the magazine, I will show you 3 more of Santa’s “pals”. All 4 of them look fabulous together in a table runner or quilt.
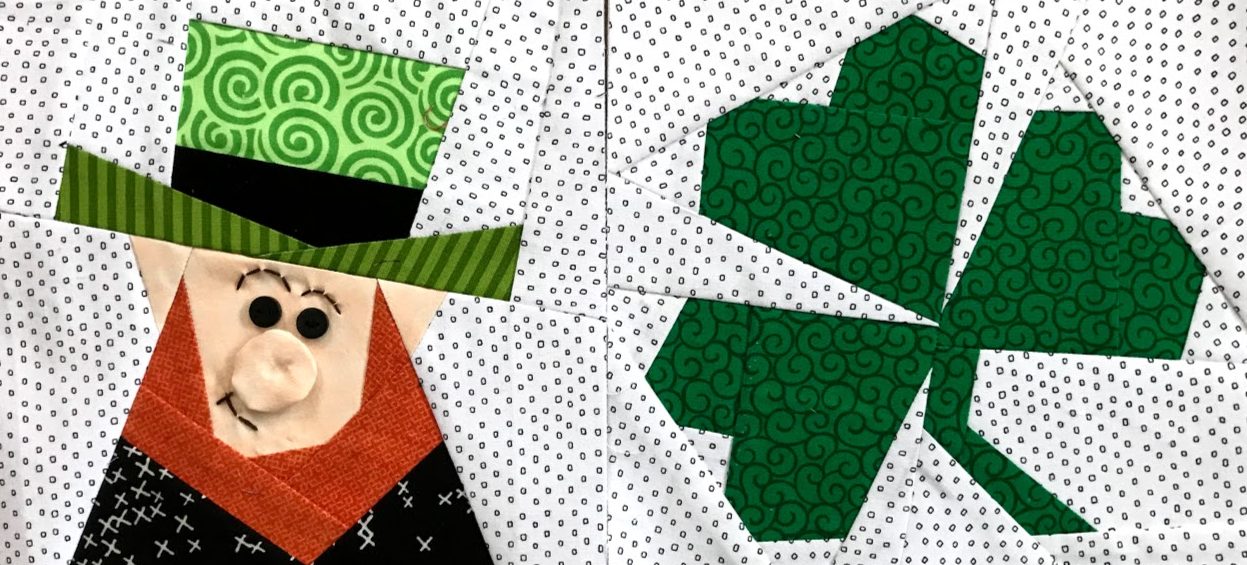
 Leprechaun Block


 And Pot of Gold Block.
 One of my sweet customers shared this photo of a Leprechaun table runner, using my blocks. This is adorable. I love to post my customer’s creations using my pattern blocks, so please share your photos at: maryannhertel@gmail.com