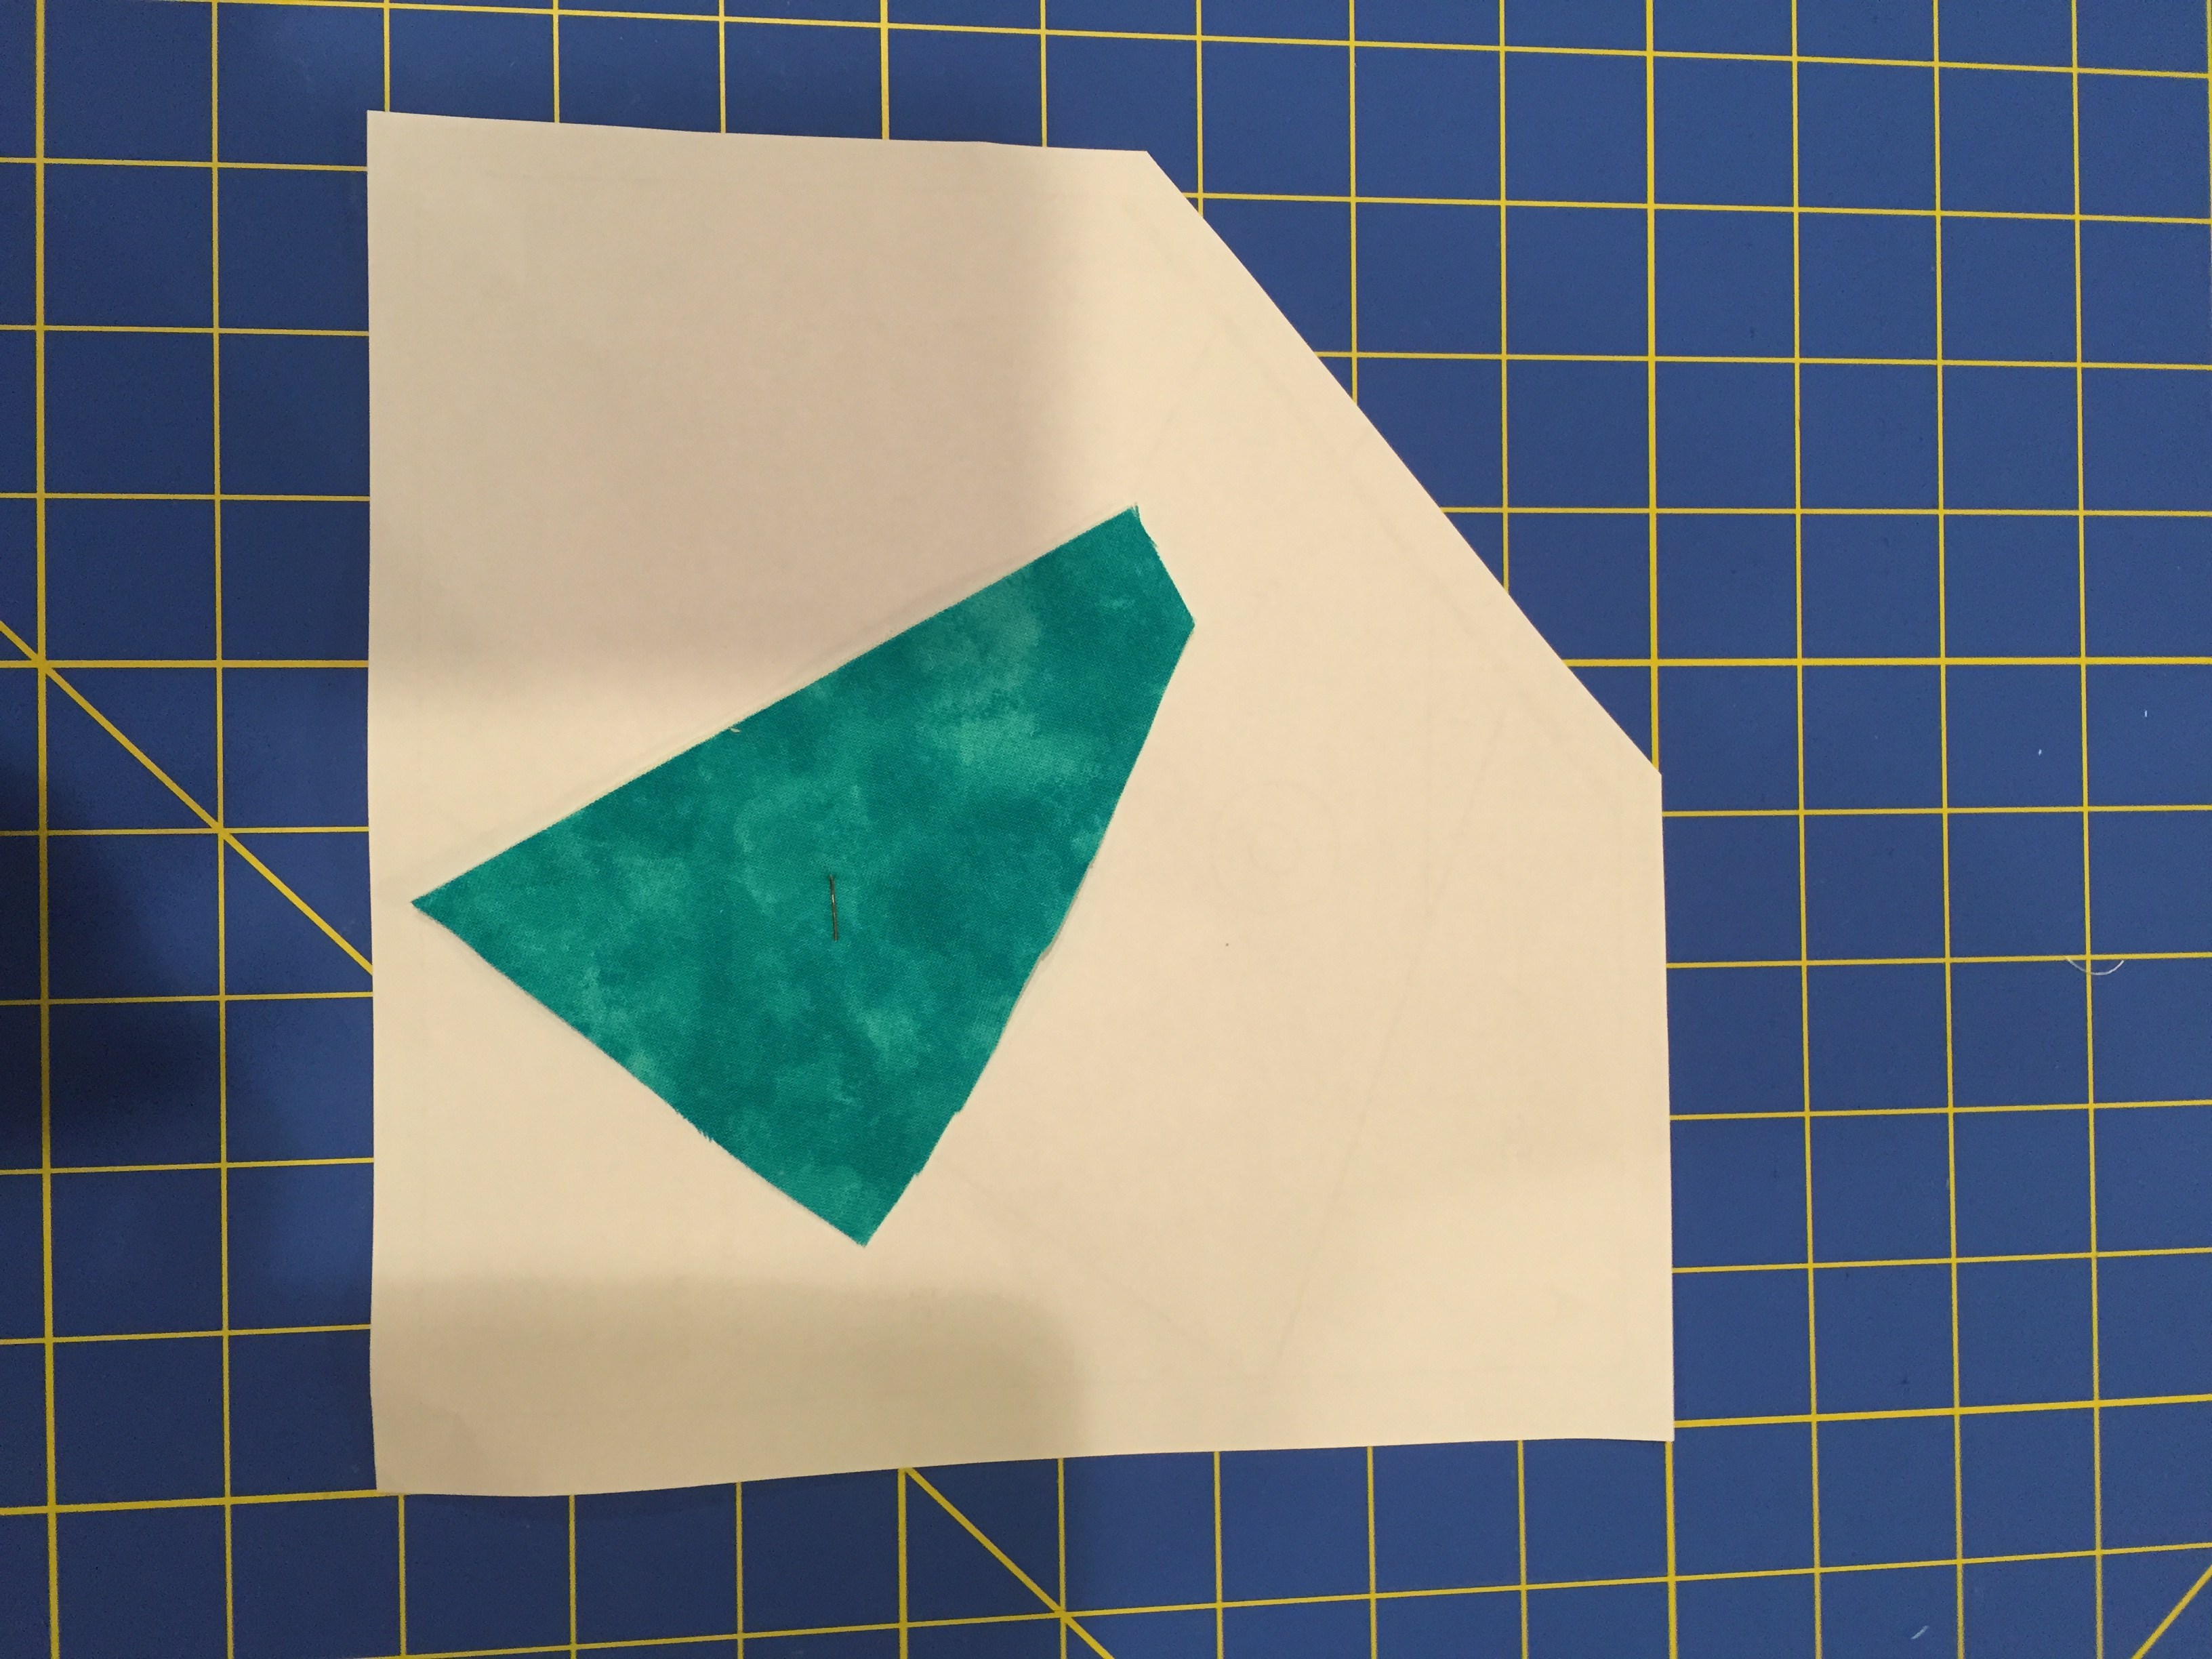
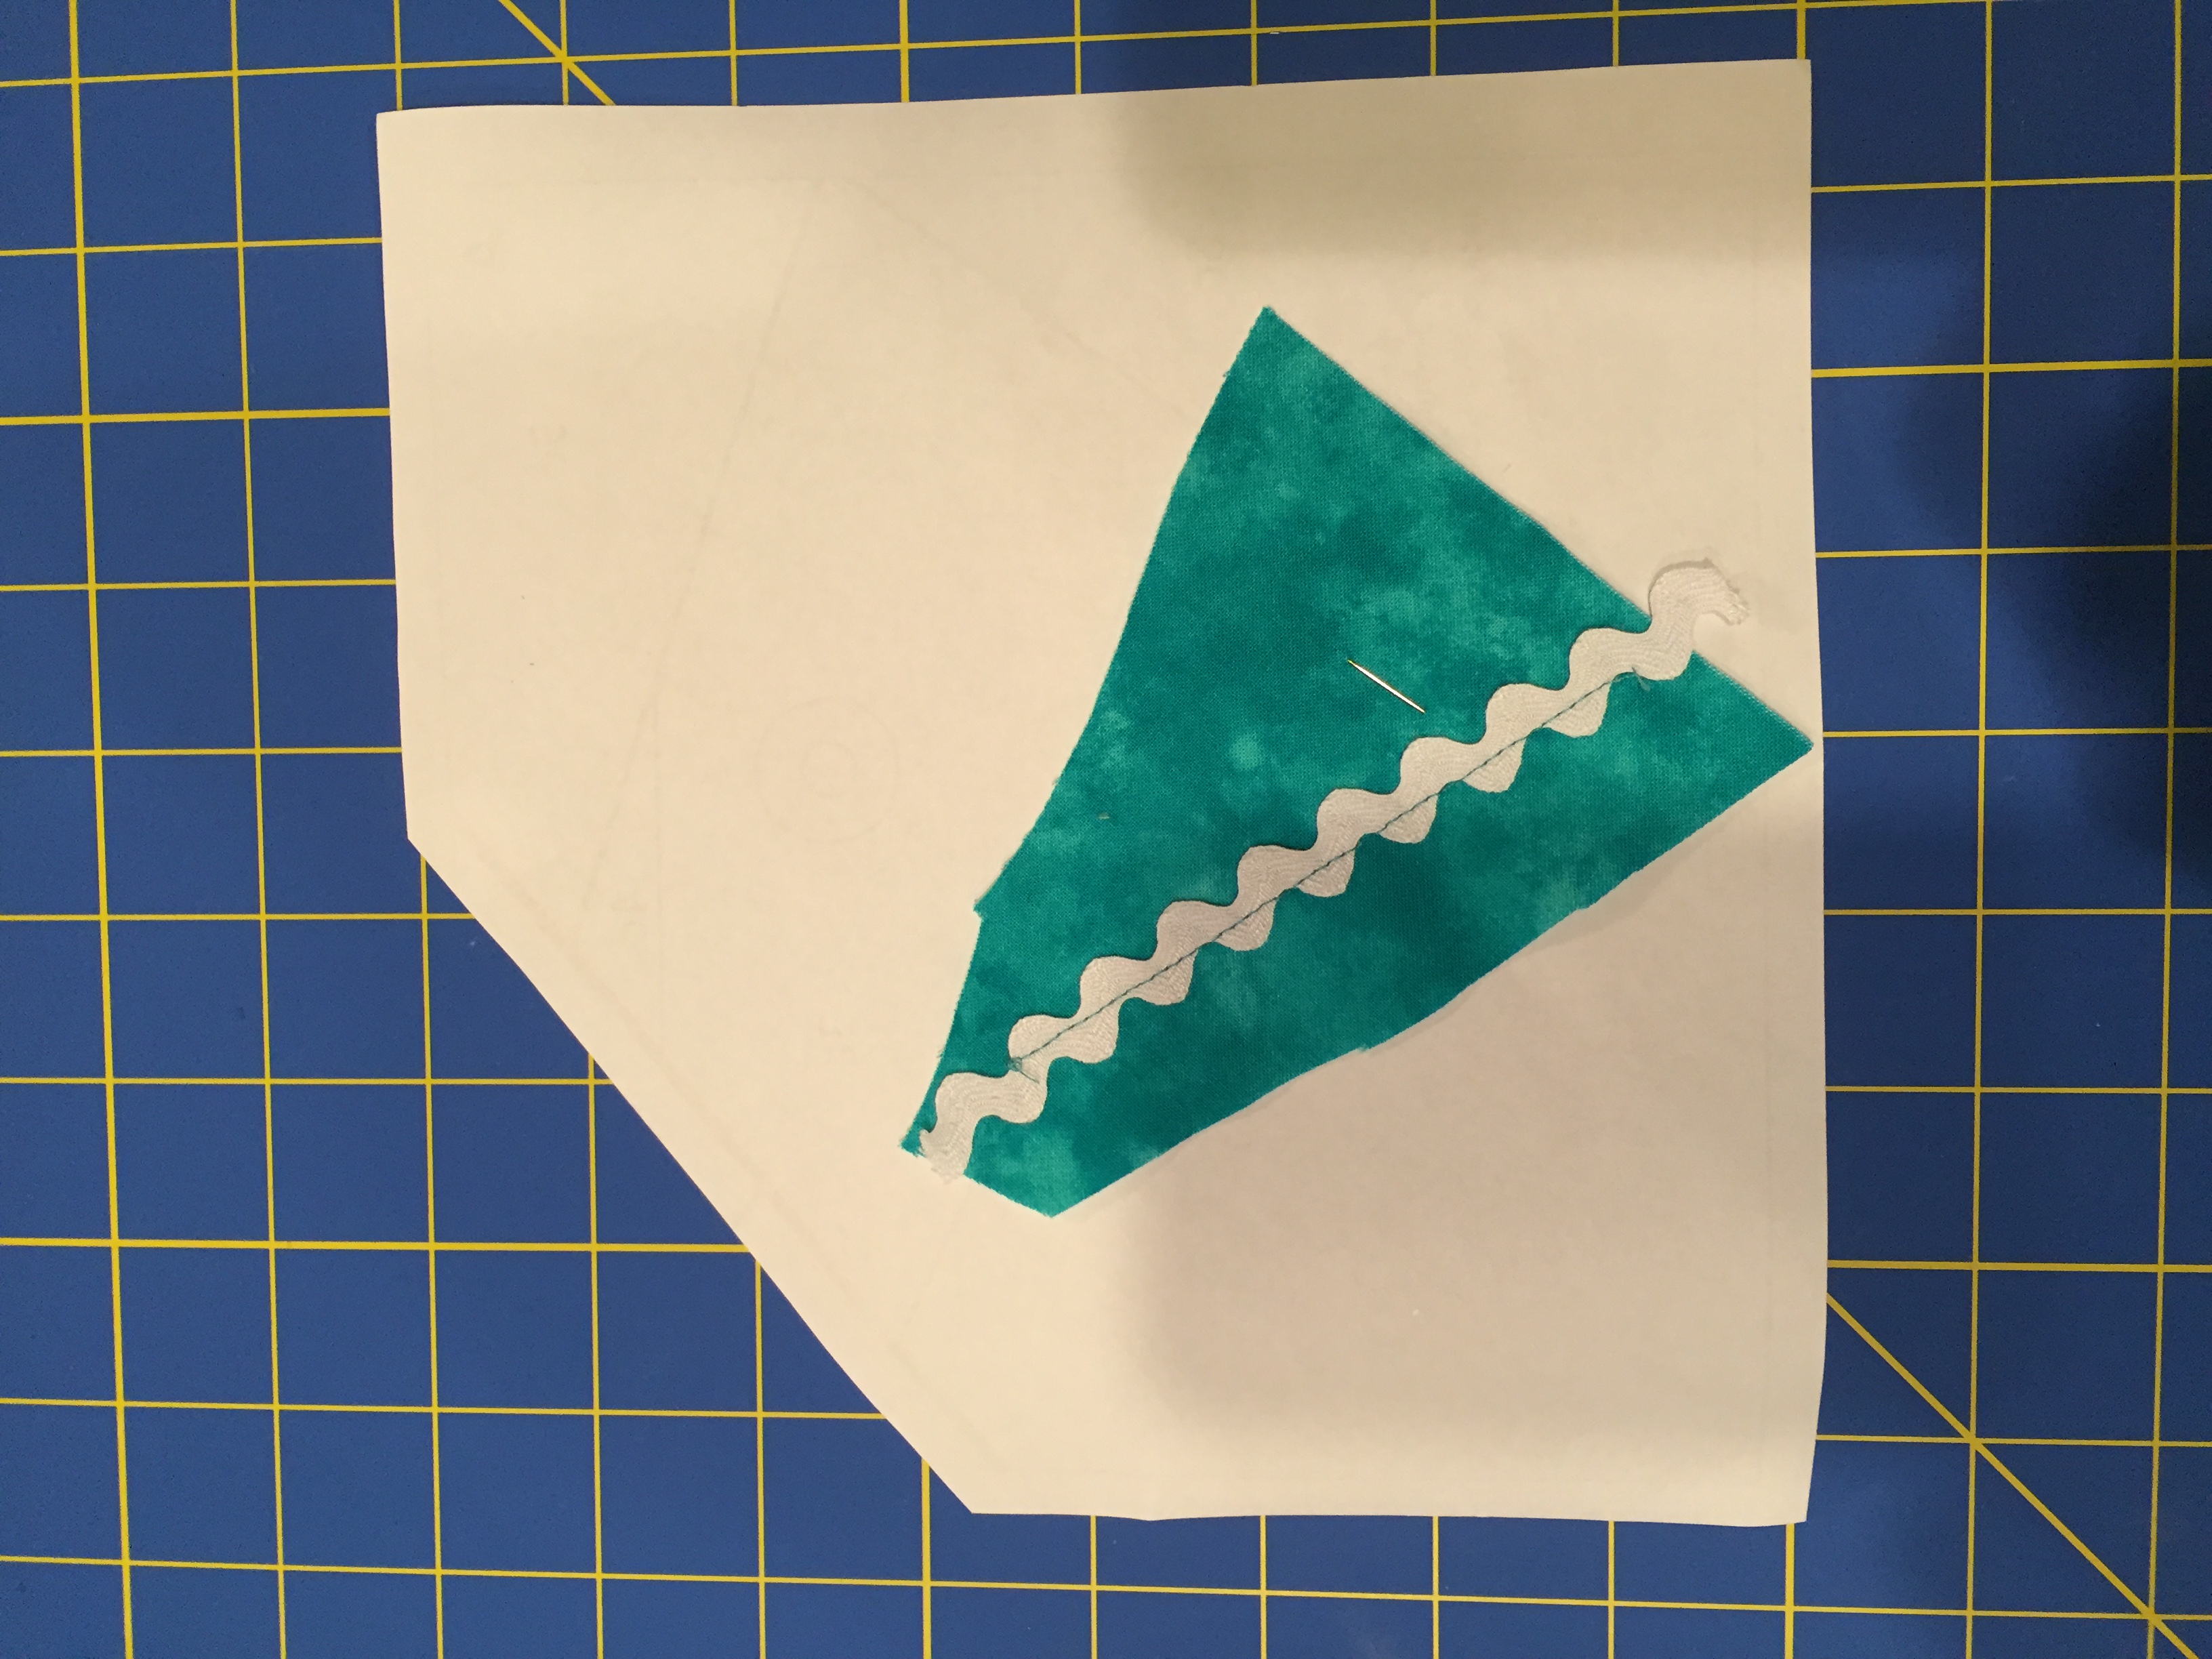
Here is segment A of the Shark Block. I have pinned a scrap of Fabric “c” (I’m using turquoise) behind space #1.Here is a view from the back of the Shark Block. Fabric “c” is pinned in place.By holding the block up to a light source, I can pin the rickrack in place. I am looking at the block from the front, but sliding my rickrack in place from the back. Then pin in place, matching the edge of the rickrack with the wavy line on the pattern. Stitch the rickrack in place by stitching along the seam line between piece #1 and #2. Now attach Fabric piece 2a to the block as you normally would, restitching on the seam line between piece #1 and #2. After flipping and pressing Fabric piece 2a, your teeth will be sewn in place. Continue by repeating this process for the teeth between piece #1 and #3.

 Welcome! I'm Mary Hertel (Marney) from Oshkosh, Wisconsin and I design paper piece patterns. View my complete profile.