August 23rd, 2022
1 pm-5 pm
Recording available afterward

C&T Publishing’s Piecing Palooza is pure summertime fun. A four-hour event with over a dozen live sessions, a panel discussion, and a keynote speaker to help you become an expert piecer!
We gathered quilt piecing experts to share all their pro tips, tricks, and techniques with you. Alex Anderson, co-host of The Quilt Show, kicks off the fun as the opening keynote. A beloved figure in the quilting community, Alex sets the tone for the event by sharing her love of patchwork.
Next, get inspired with 12 30-minute workshops! You’ll get a bespoke experience by joining breakout rooms of your choice that focus on specific piecing subjects, from working with fabric scraps to hand piecing to sewing accurate Flying Geese every time — and so much more!
Sessions include:
- Color Schemes for Scrap Quilting (Judy Gauthier)
- Find your Zen with Hand-piecing (Becky Goldsmith)
- Beyond Basic Dresdens: Piecing within the Wedge (Candyce Grisham)
- Foundation Paper Piecing 101 (Mary Hertel)
- Playful Piecing with Panels (Cyndi McChesney)
- Rapid Piecing with Precision (Lee Chappell Monroe)
- No Fuss Flying Geese Blocks (Patty Murphy)
- Making Piece With your Sewing Machine (Bernie Tobisch)
- Pinless Piecing & Press as You Go (Shelley Scott-Tobisch)
- Mastering Color Palettes with Gray-Tone Block Tools (Amy Barrett-Daffin)
- Building Your Skills with C&T’s Block Tools (Gailen Runge)
Whether you love paper piecing, hand piecing, or want to be a better precision piecer, every quilter can gain valuable skills to level up their craft.
Worried you’ll miss out on a session? No worries! If you are unable to attend live, all sessions will be recorded for viewing at your leisure.

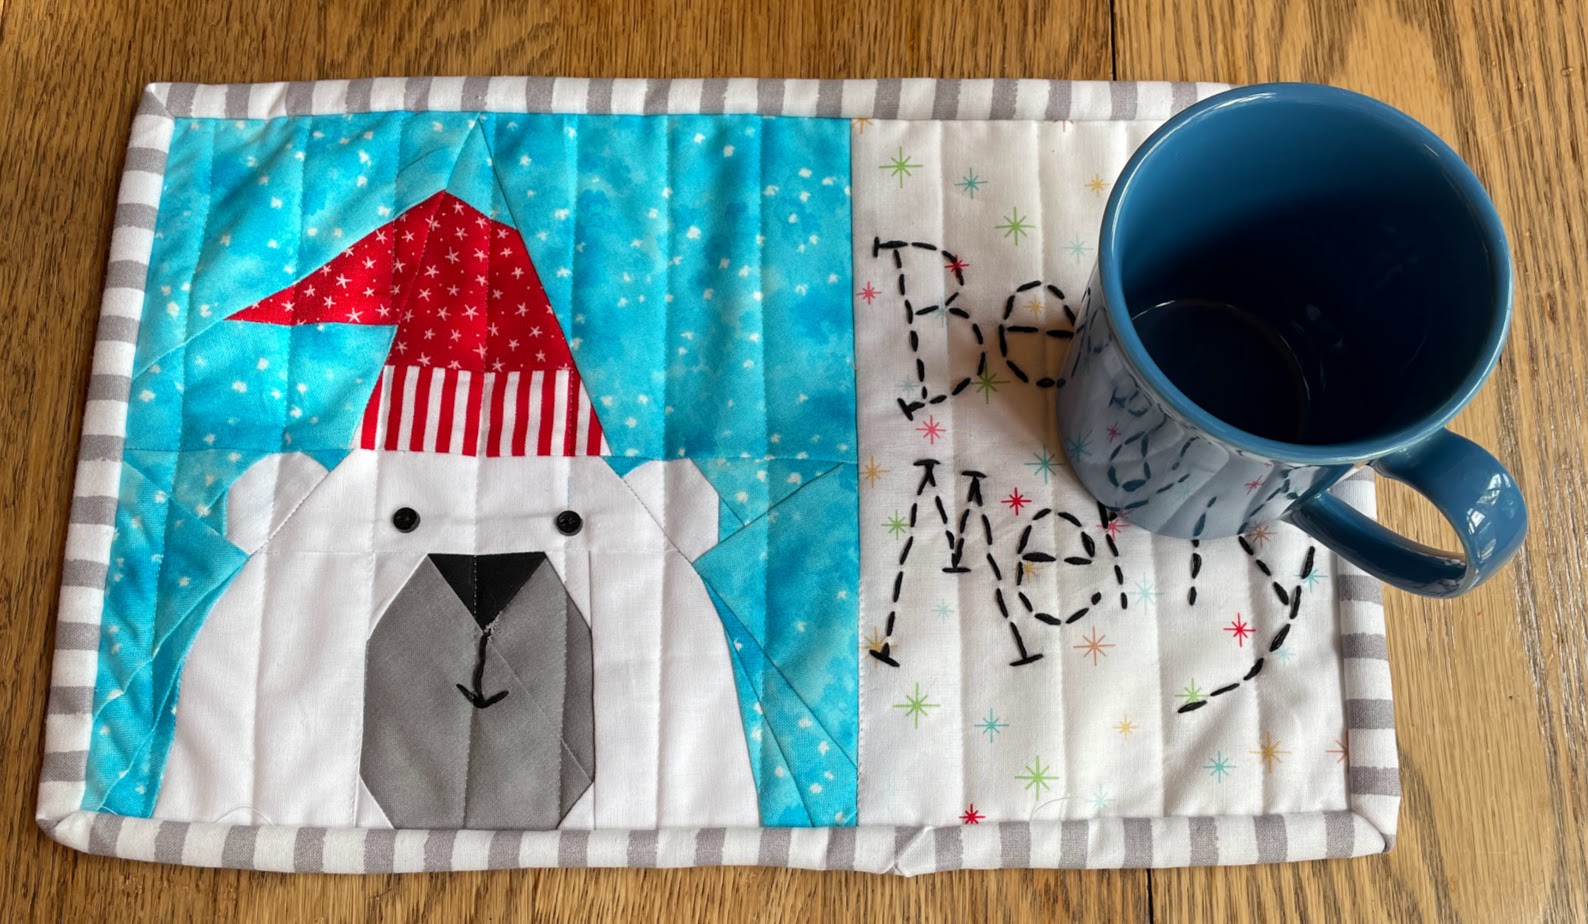
I will be teaching FOUNDATION PAPER PIECING 101 in my 30 minute session. You will learn all the steps to paper piece this adorable polar bear, and receive the pattern for the Polar Bear block and the directions for the mug rug.
What to expect at Piecing Palooza:
- Choose your own learning adventure! Each session breaks into smaller groups for live interaction with your instructors.
- Whether you love paper piecing, hand piecing, or want to be a better precision piecer, every quilter can gain valuable skills to level up their craft.
- Win big with live prize giveaways throughout the event
- All guests receive a virtual swag bag with goodies from the instructors
- This is not a webinar. See fellow quilters and ask questions with a mic (or chat)!
- Includes access to recordings of all the instructions afterward
PRESS HERE TO JOIN THIS FABULOUS EVENT!
Use my code to get $20 off: marypp22

Wouldn’t this stinkin’ cute Polar Bear make an adorable holiday gift?