Welcome to “12 Days of Christmas in July”. On my post today you will find a FREE tutorial on paper piecing AND a Give-Away at the end of this post.
Thank you to Sarah Craig from Confessions of a Fabric Addict for hosting this blog hop!
![]() I love designing paper piece patterns for the holidays. I am sharing a tutorial on paper piecing today using one of my new Christmas patterns. “Must Be Santa” can be made into a table runner or pillow if you follow the directions in the pattern. However, you can use the four 7 1/2″x 7 1/2″ blocks in this pattern for any number of projects.
I love designing paper piece patterns for the holidays. I am sharing a tutorial on paper piecing today using one of my new Christmas patterns. “Must Be Santa” can be made into a table runner or pillow if you follow the directions in the pattern. However, you can use the four 7 1/2″x 7 1/2″ blocks in this pattern for any number of projects.

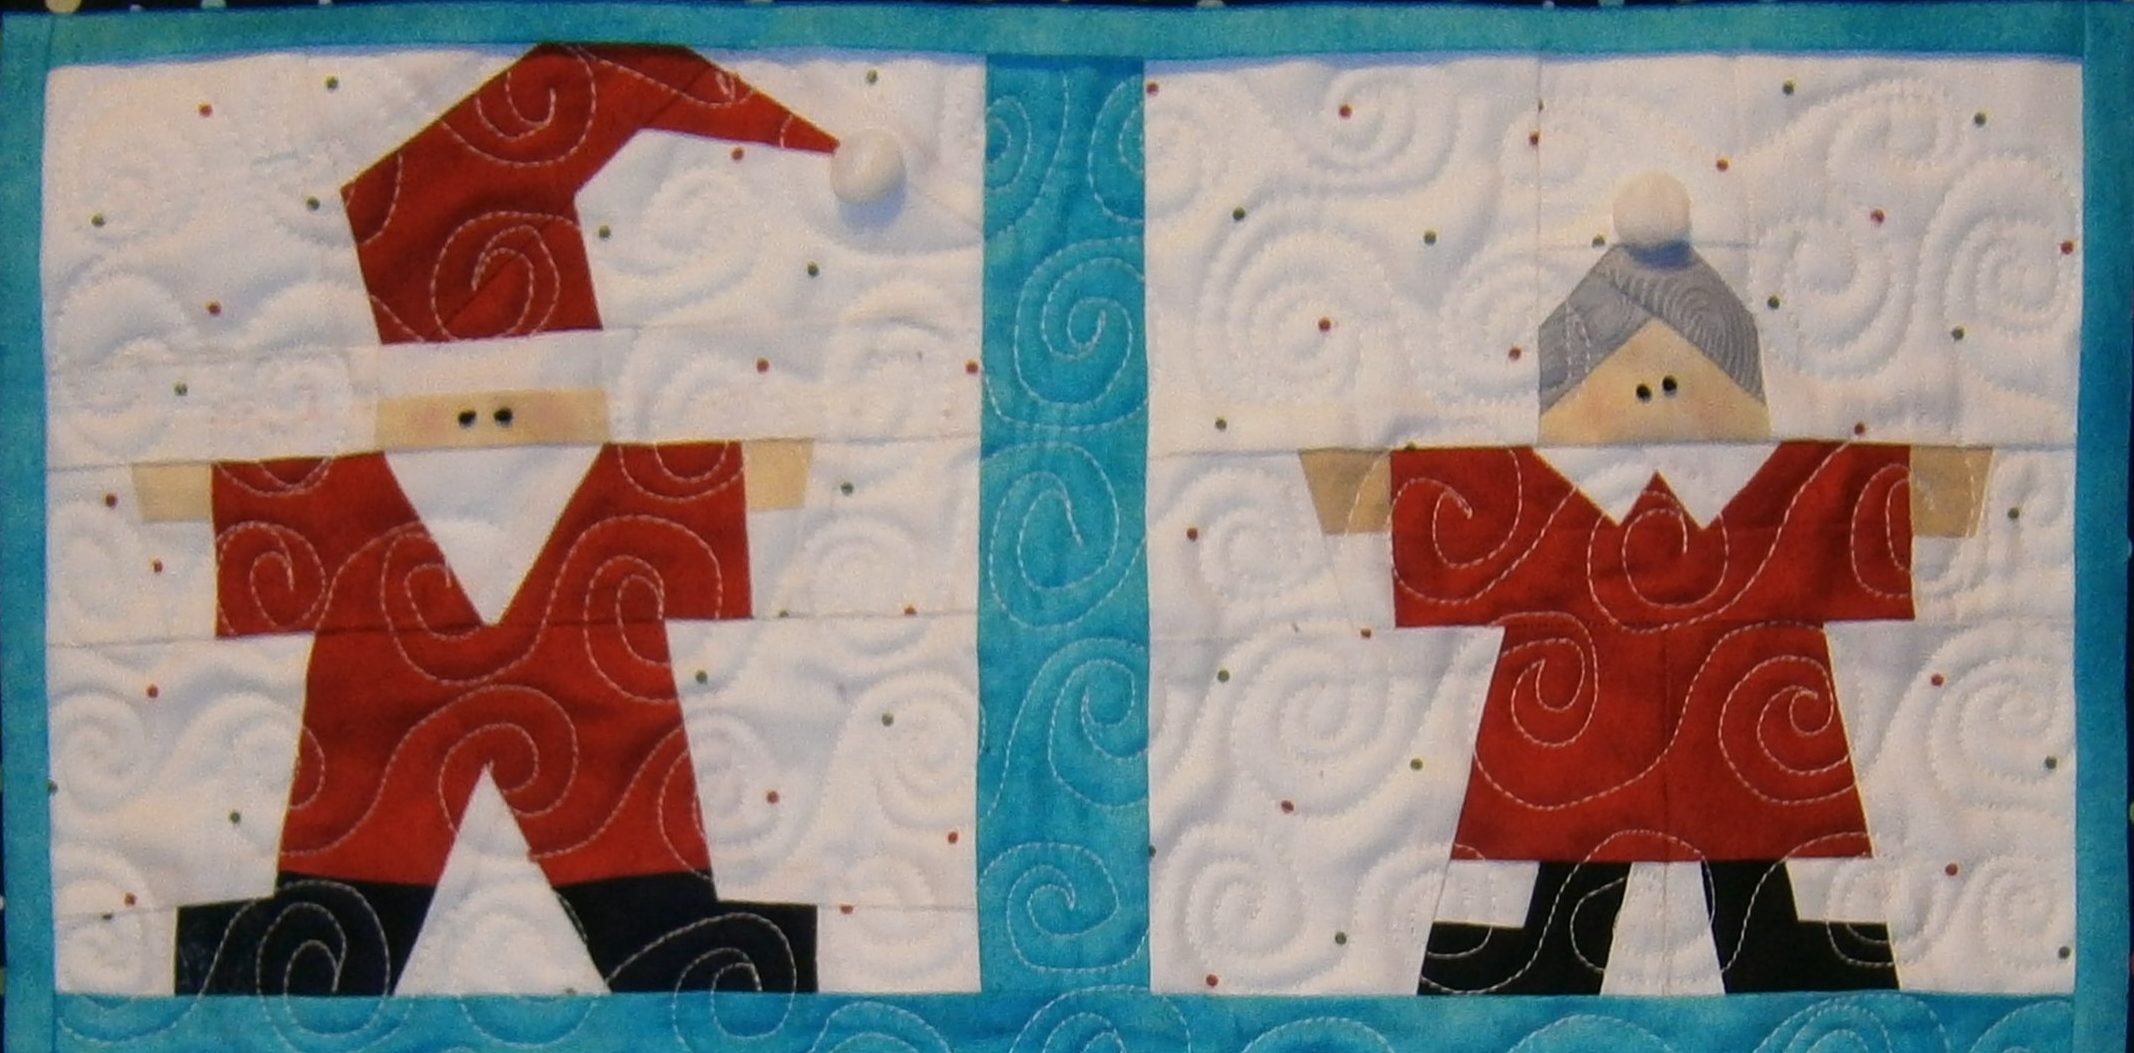
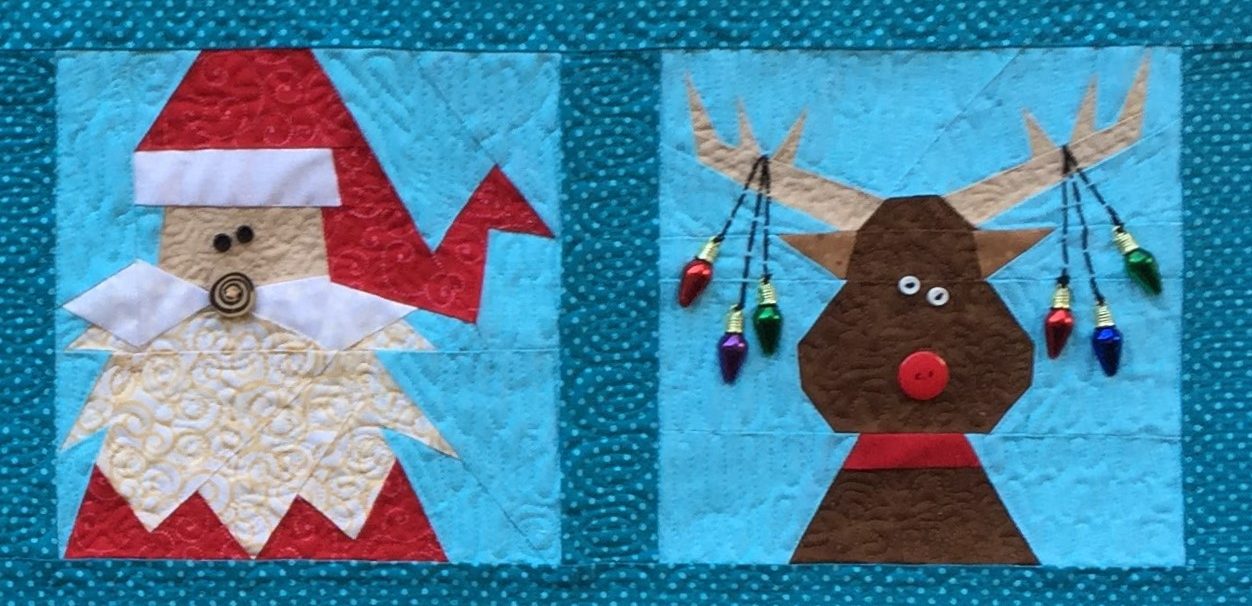
This table runner is made using the four blocks in the pattern, Elf, Mrs. Claus, Santa Claus, and Rudolph. The pillow below is also included in the pattern.
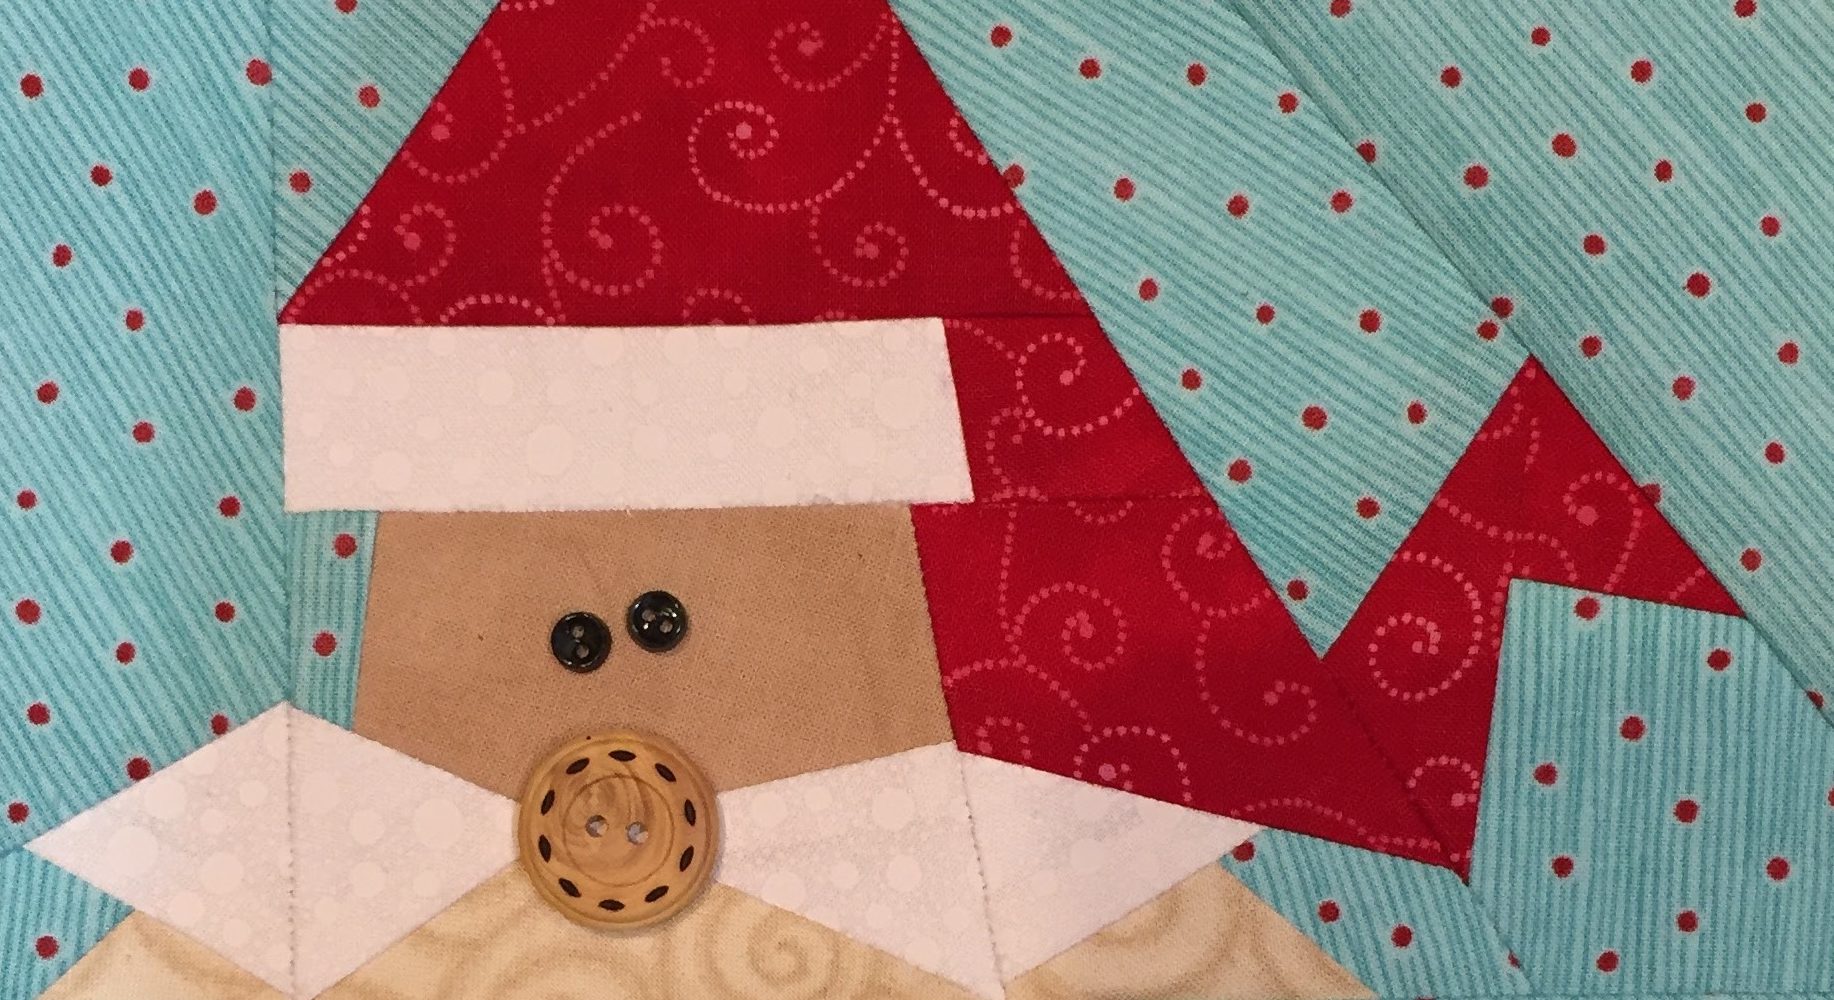
 For my tutorial, I will be using this Santa block, but any block in the pattern may be substituted.
 I have designed many Santa blocks. This 1 is my favorite. I pride myself in offering very EASY patterns with just a few pieces. This particular block is NOT one of my easy blocks. It has a number of different sections that must be paper pieced separately, then sewn together to complete the block. Don’t let this deter you from trying paper piecing if you are a beginner. Each segment is fairly simple. So…let’s take this 1 step at a time…
 Start by setting your stitch length to 1.5; that’s about 20 stitches per inch. Shortening the stitch length perforates the paper so as to make it easier to rip away the paper pattern when you are finished with the block.
Make 4 copies of the original pattern and cut around each segment (outlined in red lines) adding a 1/4″ seam allowance around each segment. Cut segments A/F from copy 1, segments B/E/I from copy 2, segments C/D/G from copy 3, and segment H from copy 4. Above you can see segments A, B, and C with the 1/4″ seam allowance around each piece. Now you are ready to start piecing!
 Let’s start with segment A. Pin piece #1 to the appropriate fabric (background color), wrong sides together. There should be at least 1/2″ of excess fabric all the way around piece #1. You can check this by holding your pattern up to a light source.
 Trim the excess fabric. Double check: The WRONG SIDE of the fabric should be facing the back of the pattern. This scrap is a 1/2″ larger than piece #1.
 Find the stitching line between piece #1 and piece #2.
 Use a bookmark or any piece of card stock to fold back piece #2 along this stitching line. It’s a bit hard to see because the bookmark and the back of the pattern are both white, but look closely to see how the pattern is folded.
 The Add-A-Quarter ruler is very handy for trimming seam allowances.
 Use an “Add-A-Quarter” ruler to trim away the excess fabric, trimming 1/4″ away from the stitching line (fold).
Piece #2 is skin color, so I am using a tea dye fabric. This scrap is a good 1/2″ larger all the way around than piece #2.
 Place the pattern on top of the skin colored fabric scrap so the trimmed edges (seam allowances) line up.
 Flip the pattern piece back down and pin in place. Sew on the seam line between pieces #1 and #2, starting and stopping your stitching 1/4″ before and after the seam line. There is no need to back tack, as each seam line will eventually be covered by another seam line.
 Flip the fabric behind piece #2 and press in place. I also like to pin it flat so there is no movement as you add the next piece.
 Looking at the pattern from the front, trim away any excess fabric from piece #2, but be GENEROUS with your seam allowance. I always allow for 1/2″ seam allowance; later to be trimmed to 1/4″. Piece #1 and #2 are now in place. Everything to complete segment A is now repeating these same steps.

Using the bookmark, fold the pattern back on the seam line between piece #2 and piece #3. Do you see that small 1/4″ seam projecting into piece #3…just to the right of my finger?
 That little seam needs to be ripped open so the pattern will lay flat when folded back onto the bookmark.
 Use the 1/4″ ruler to trim the seam allowance. Use a scrap of white for piece #3.
 You can see I am using a sparkly white fabric. Piece #3 is part of Santa’s mustache. Line up the outer edge of the seam allowances, right sides together.
 Flip the pattern open and pin in place.
 Sew on the line between piece #2 and #3, again start and end 1/4″ before and after the seam line.
 Flip the fabric behind piece #3, press, and pin in place.
 Trim away the excess scrap of white, leaving a generous 1/2″ around the edges of piece #3.
By using larger scraps and trimming AFTER sewing, you will not have to guess what size to cut your scraps to fit each piece.

Continue in this manner until segment A and B are completed.
 Trim the seam allowances that are between segment A and B to 1/4″.
 These are the 2 edges that are now trimmed and ready to be pinned together and sewn.
 Use a straight pin to poke into and line up the edge of the red seam line on segment A and the corresponding spot on segment B.
 Pin the 2 segments together.
 Sew on 1/4″ before and after the seam line. Rip away the paper in the seam allowance area on both segments. Open the segments flat and press, pressing both seams to one side or the other, depending on which way they want to lay.

The “Must Be Santa” pattern and many more of my patterns can be found on Etsy or Craftsy.
See more free tutorials on my Tutorial page, or visit Made By Marney on YouTube.
And now for the Give-Away! I will be giving away a free copy of my “Sew Yourself A Merry Little Christmas” book. This book is filled with adorable holiday paper pieced block patterns and 8 different patterns that use the blocks.

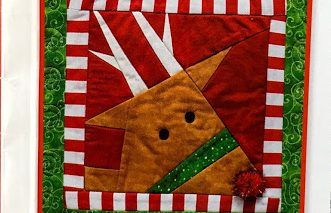
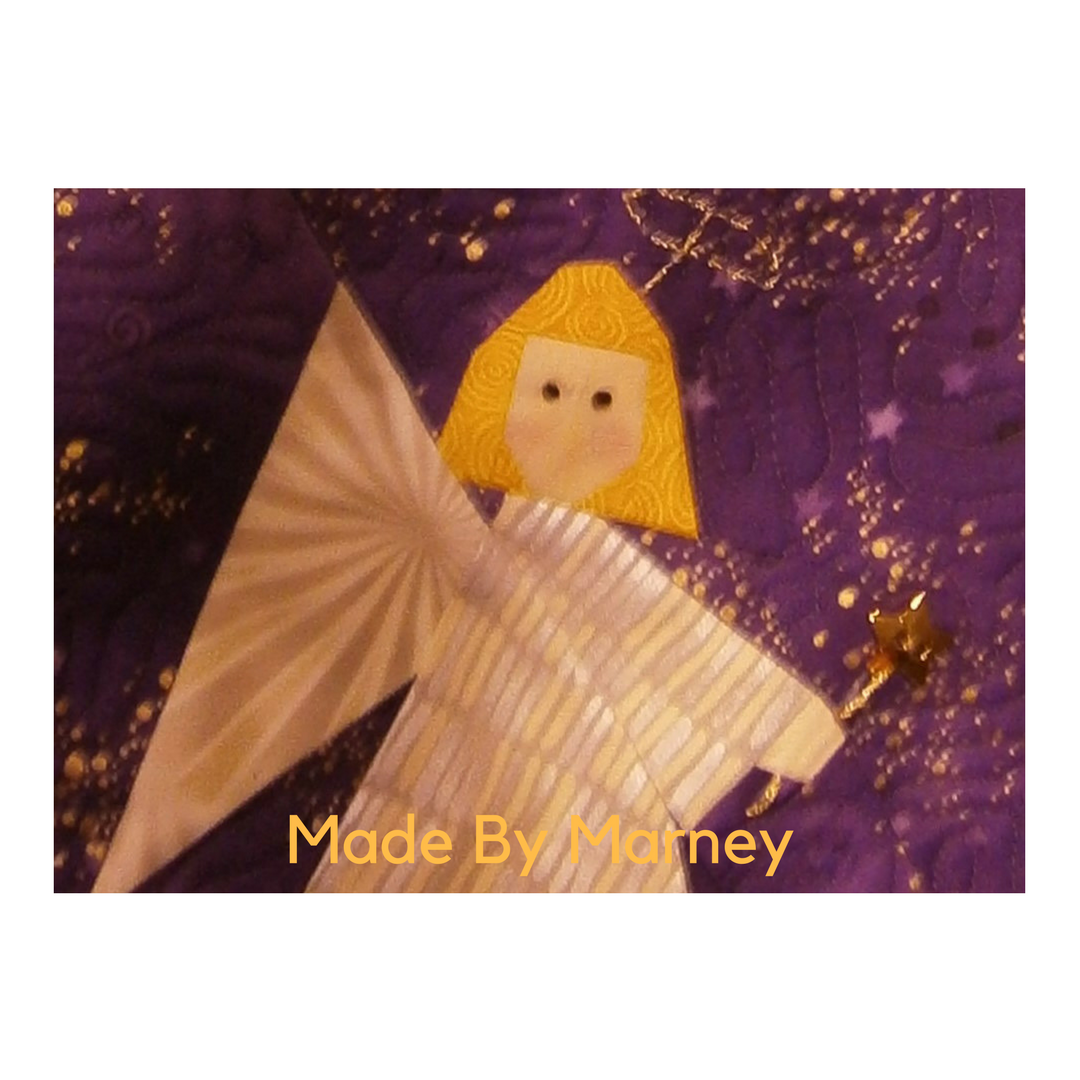
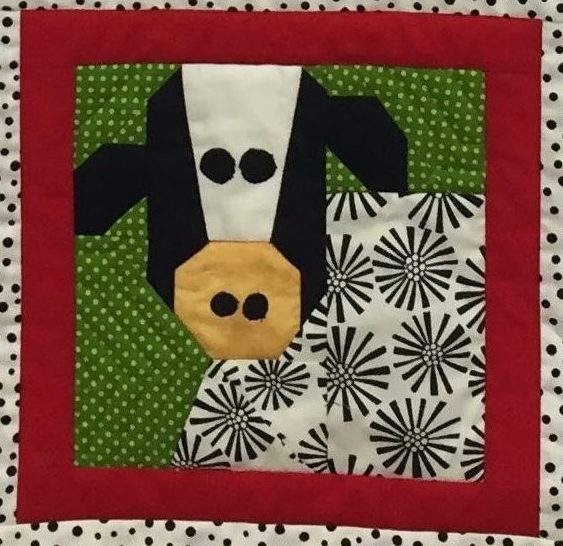
These are just a few of the 16 paper pieced blocks in this book.


 Due to the extremely high cost of postage overseas, I am only able to mail this book to a customer from the US. If someone wins from a foreign country, I will download this Christmas pattern to them, instead of the book: Must Be Santa Table Runner/Pillow pattern.

For a chance to win the free book (or pattern if you live overseas), leave a COMMENT on this post. Please make sure your email is included. The winner will be announced on Thursday, July 26.
Please visit other participating designers and quilters:
Saturday, July 14th
Joy @ Days Filled With Joy
Selina @ Selina Quilts
Sunday, July 15th
Joanne @ Everyone Deserves a Quilt
Jan @ The Colorful Fabriholic
Monday, July 16th
Carole @ From My Carolina Home
Jamie @ L’Fair Quilts
Karen @ Tu-Na Quilts, Travels & Eats
Tuesday, July 17th
Sharon @ Vrooman’s Quilts
Mary @ Made by Marney
Wednesday, July 18th
Karrin @ Karrin’s Crazy World
Marian @ Seams To Be Sew
Thursday, July 19th
Christina @ Christina’s Handicrafts
Sherry @ Books, Hooks, Sticks, etc.
Danice @ Homespun Hannah
Friday, July 20th
Kristi @ Confessions of A Fabric Addict
Wendy @ Pieceful Thoughts
Saturday, July 21st
Cindy @ Stitchin’ At Home
Meloney @ Mel’s Quilting Blog
Sunday, July 22nd
Anja @ Anja Quilts
Moira @ Quilted Snail
Monday, July 23rd
Brenda @ Songbird Designs
Amy @ Sea of Estrogen
Bonnie @ In Stitches With Bonnie
Tuesday, July 24th
Kathy @ Kathy’s Kwilts and More
Summer @ Summer Lee Quilts
Wednesday, July 25th
Susan @ Quilt Fabrication
Brandy @ Pampered Pettit
Jean @ All Points of the Compass
Linking with: