For the past year I have been featured in American Quilter. Every issue has one of my paper pieced block patterns, and a link to a helpful video on paper piecing techniques.

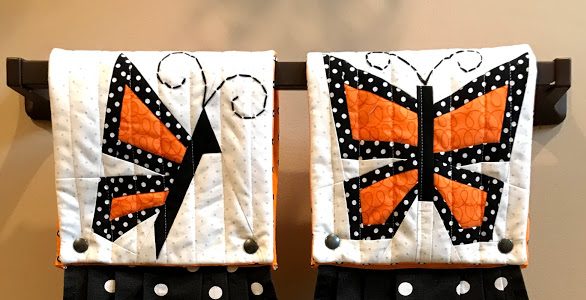
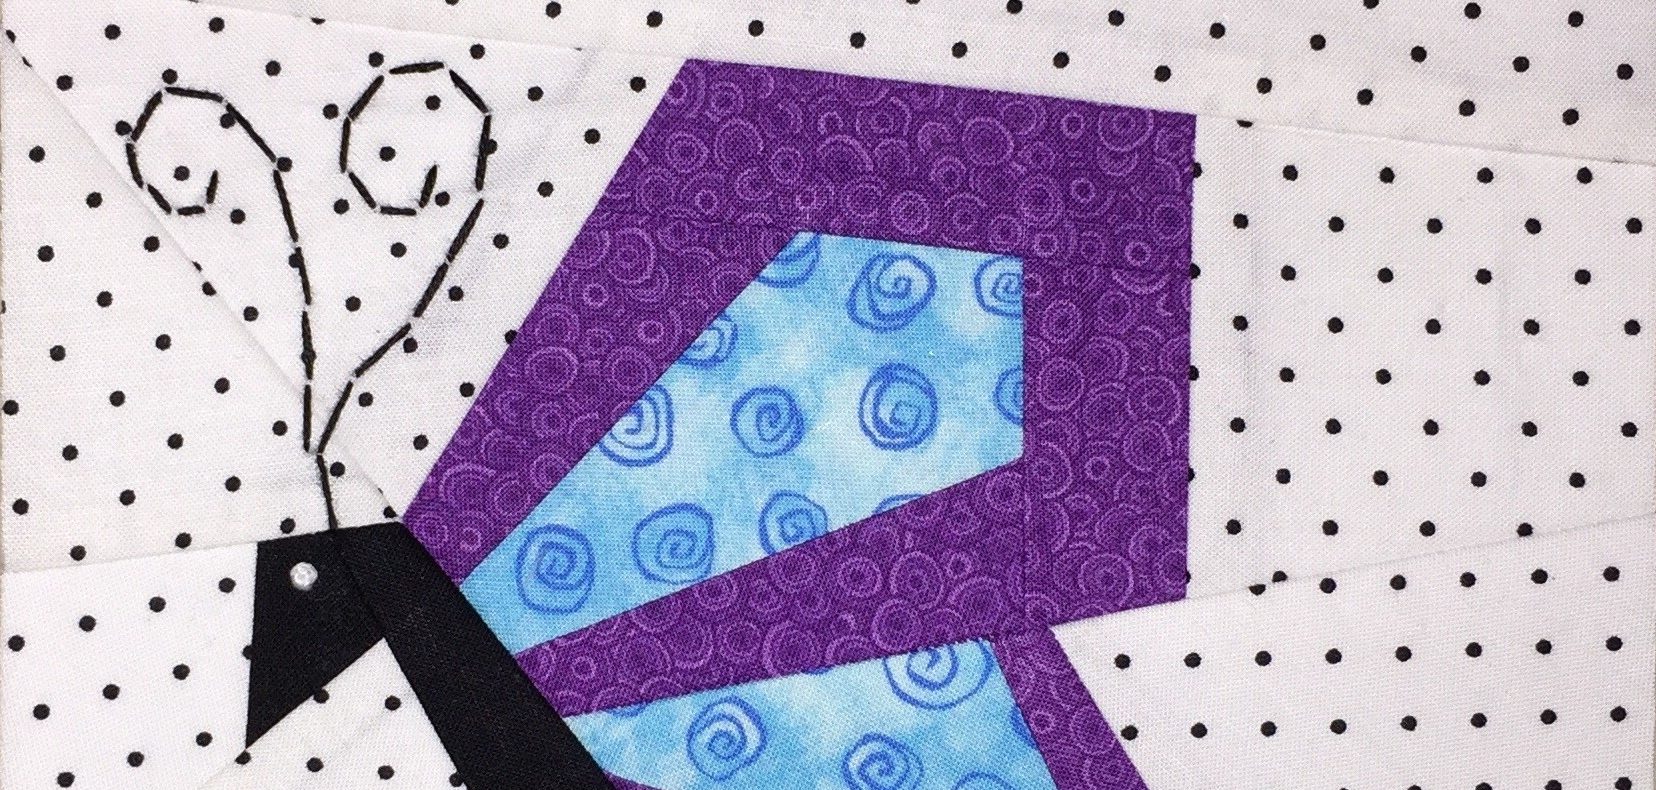
The May 2025 issue featured this Spring butterfly and daisy. You can watch all the videos on my Made By Marney YouTube channel. If you are new to paper piecing, or need a refresher, watch PAPER PIECING TUTORIAL: THE BUTTERFLY EFFECT on YouTube. This is a great starting point with simple tips for easy piecing.
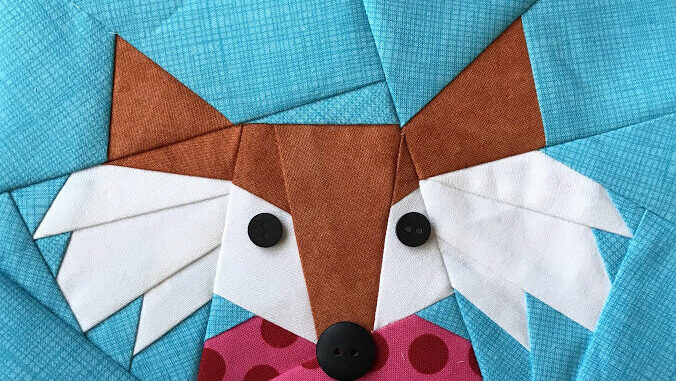
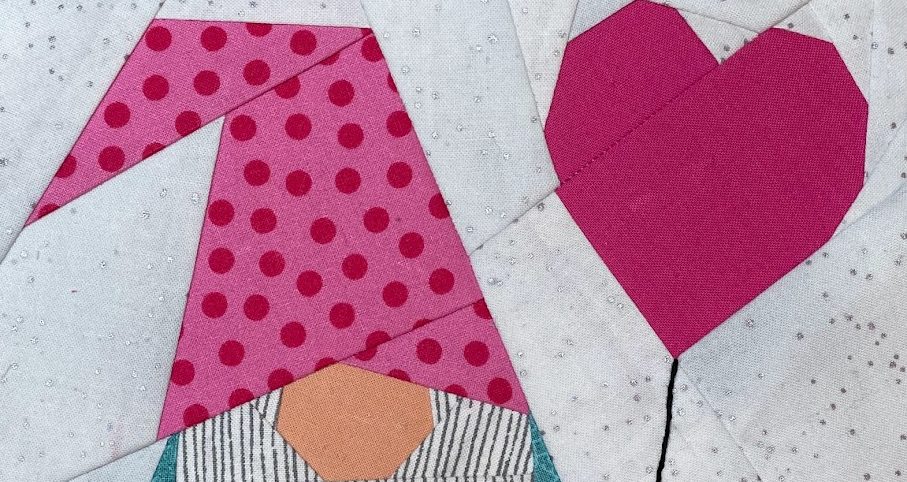
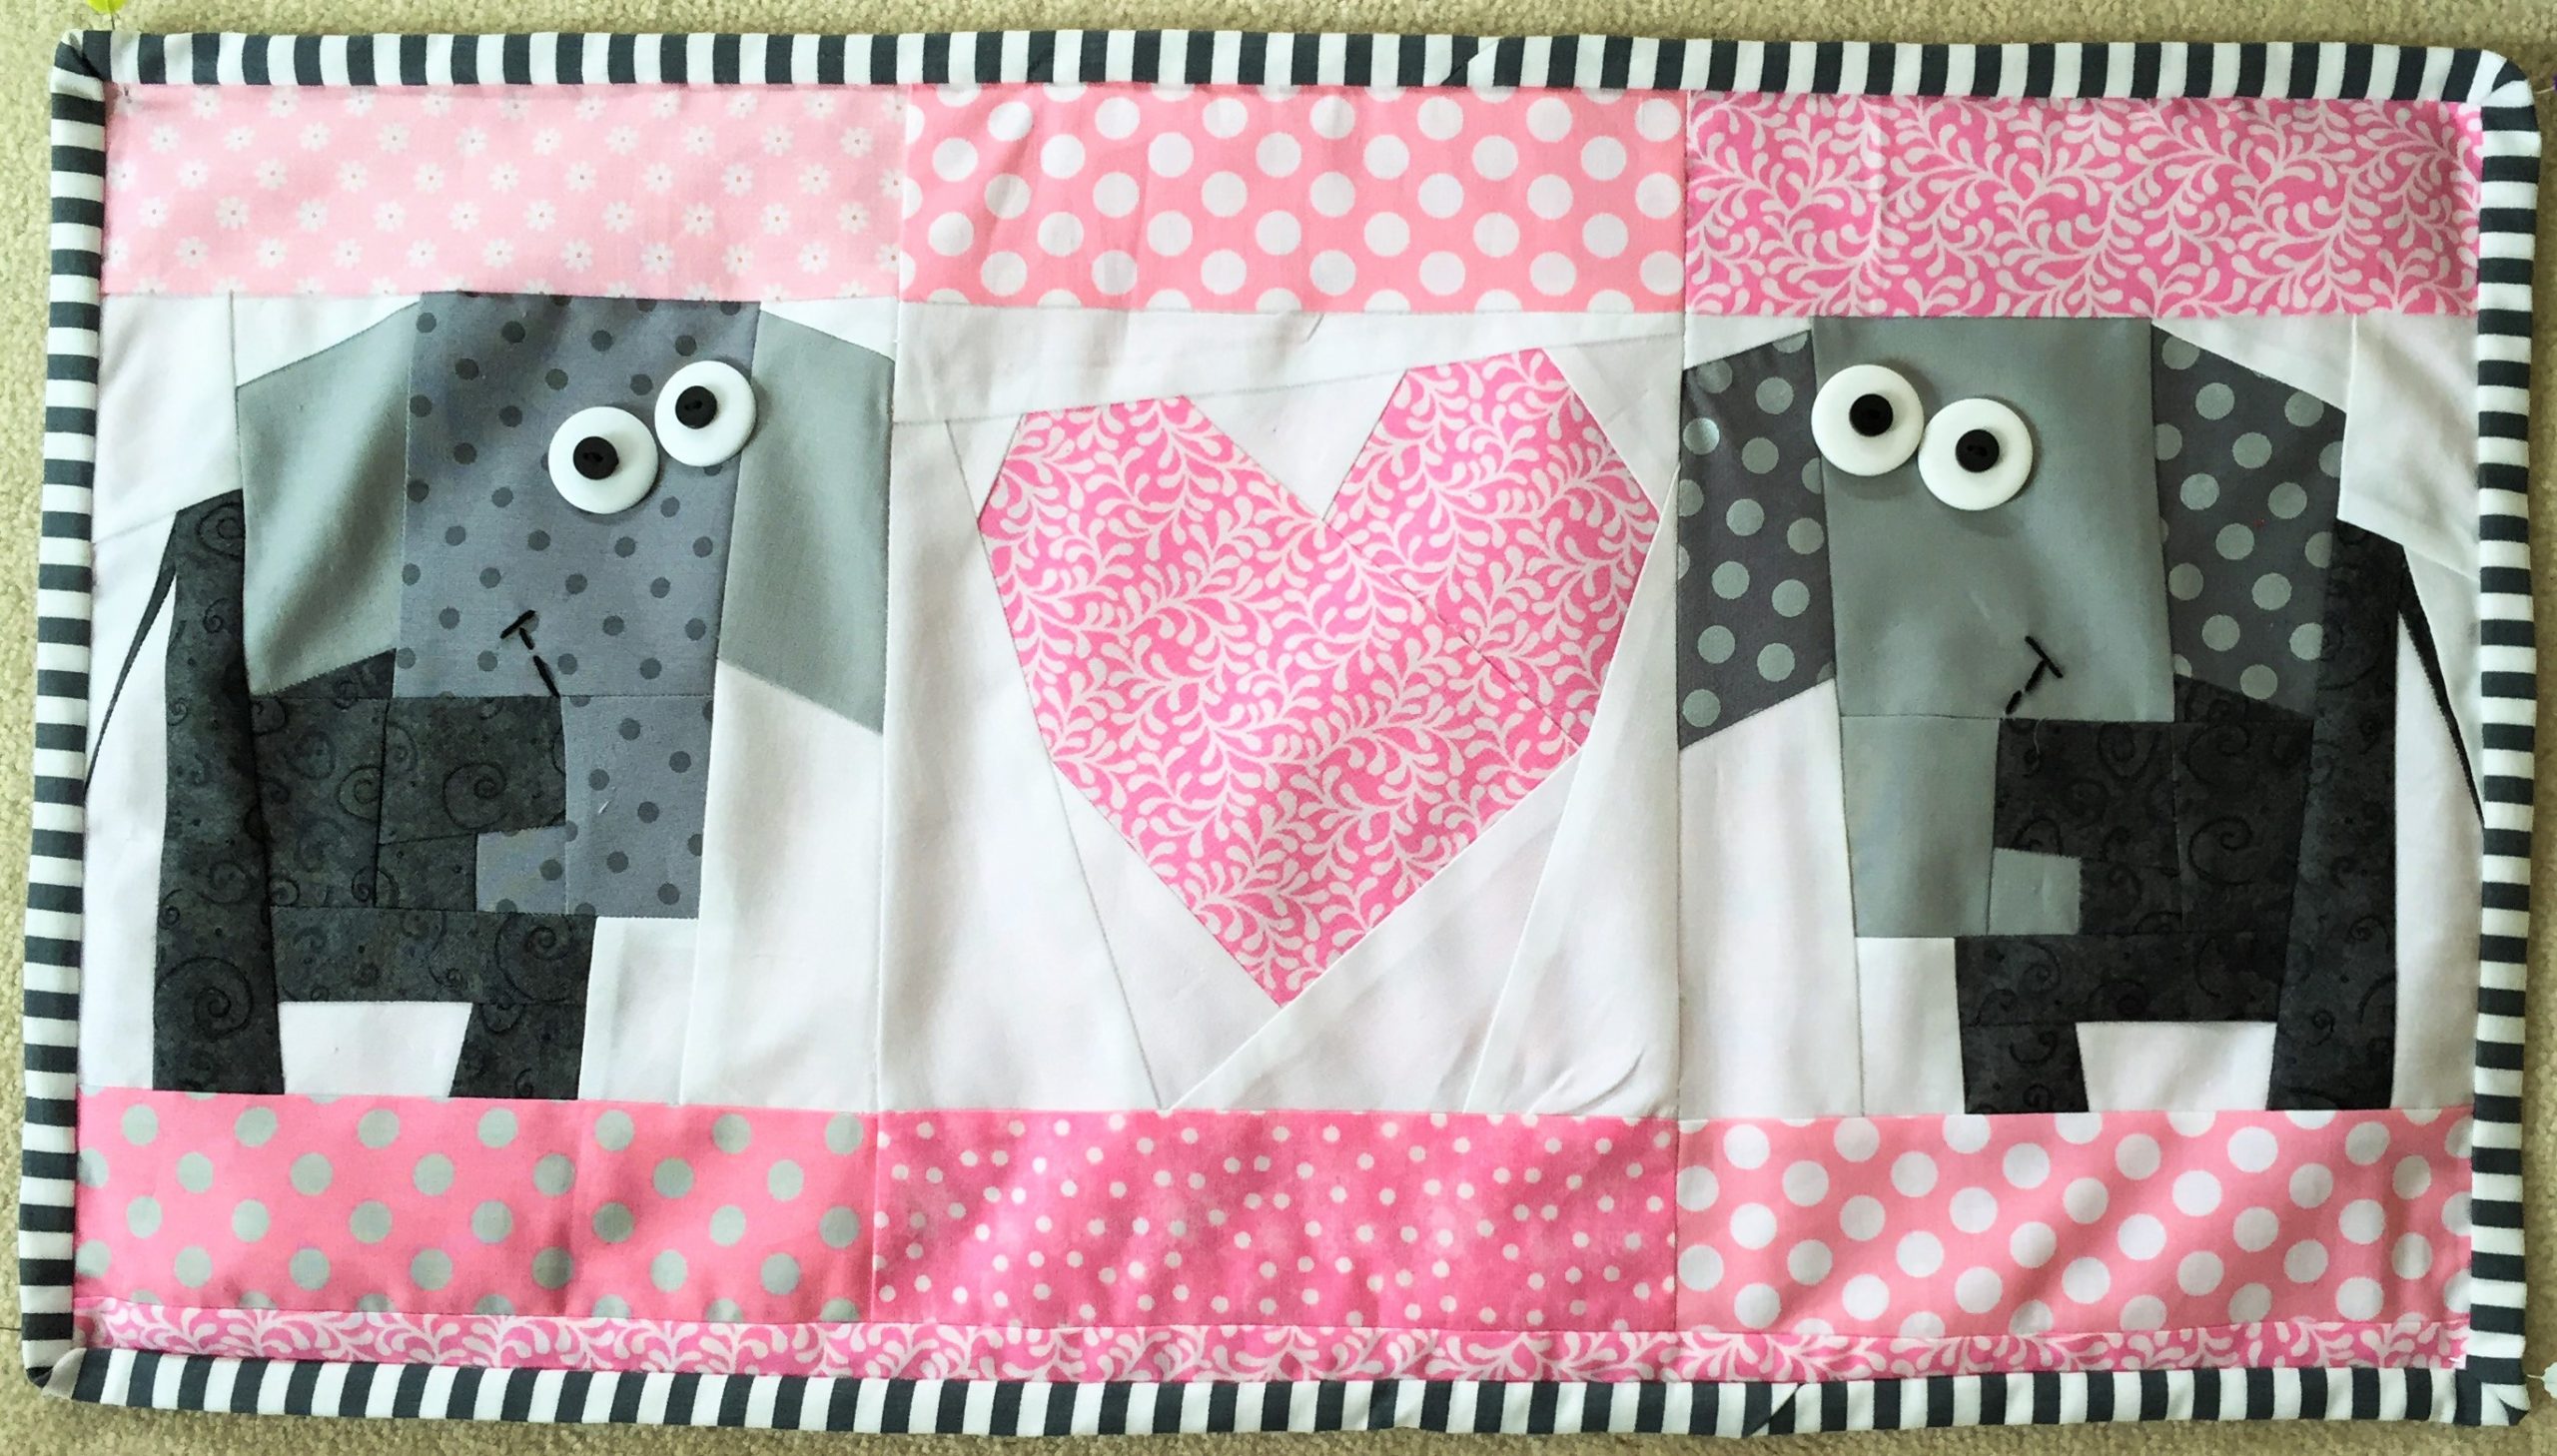
Try some of my favorite Cute Critters in your next project…

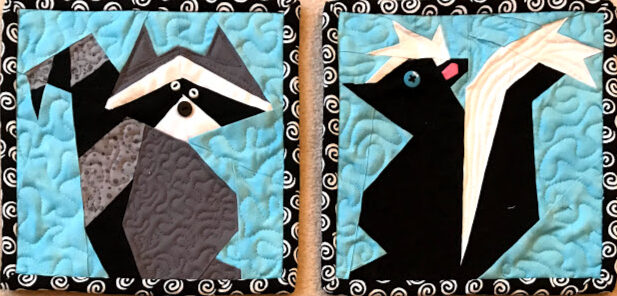
These are CUTE CRITTER POTHOLDERS, with a Raccoon, Skunk, Porcupine, and Possum.

SILLY SAFARI QUILT includes Zebra, Toucan, Flamingo, Parrot, McCaw, and the fabulous Boa Constrictor.

POND COLLECTION includes adorable dragonflies, a turtle and a frog.

SEW CUTE & CLEVER FARM AND FOREST FRIENDS has the EASIEST animal blocks ever! It is specially designed for the beginner paper piecer. Sixteen adorable animals that you can whip together fast!


I also have an AARDVARK pattern, MOUSE, QUAIL, and EAGLE… all designed by request from various customers. Let me know what “cute critter” you need:)