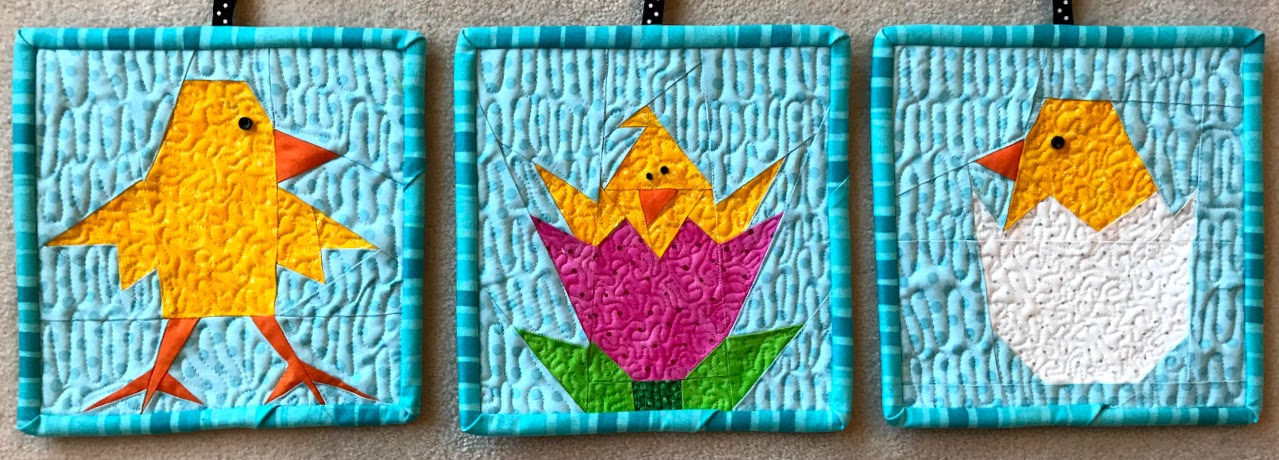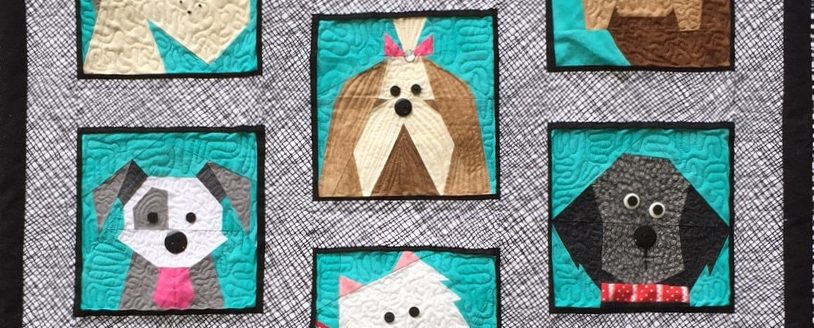
I spent last Saturday vending at the West Bend Quilt Show in Wisconsin. So much fun! So many sweet customers! The most popular item in my booth was my “Dogs Only” quilt.
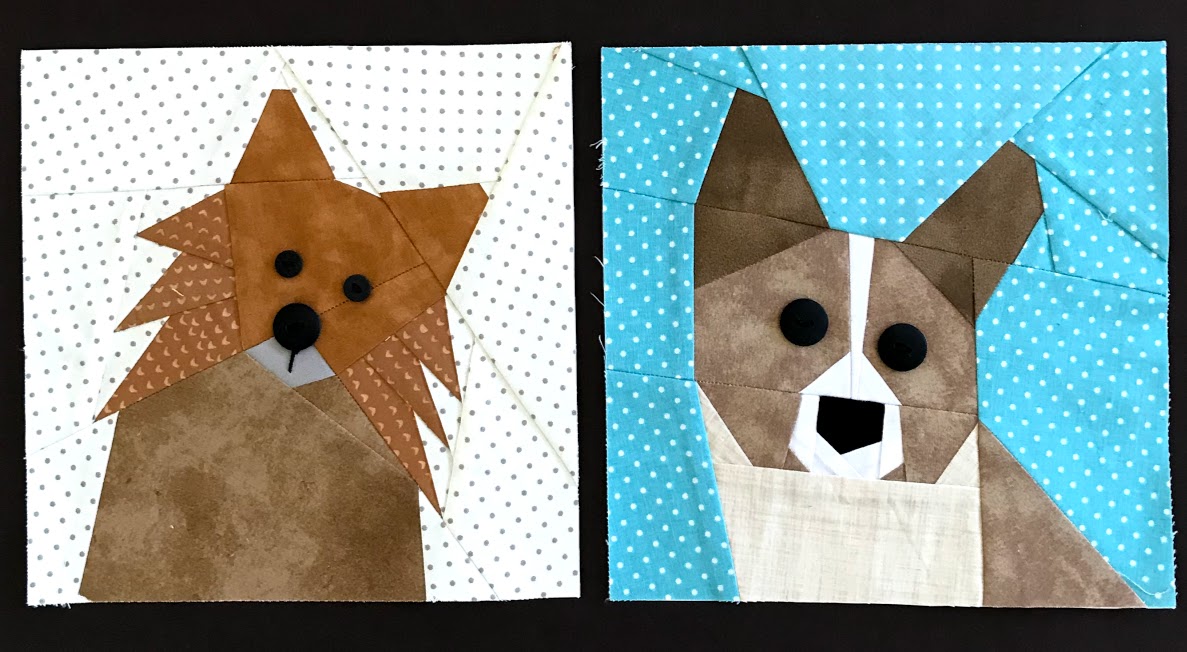
 This pattern offers 11 different breeds, but that has not been sufficient to please the many dog lovers out there who love to paper piece. Since creating this pattern, I have designed about 50 more dog blocks. Well, true to form, I had 2 lovely customers request breeds that I don’t currently have. So, thanks to my clever customers, I have added an elegant Maltese and a cute as can be King Charles Cavalier.


These 2 were so much fun to design. Do any of you have a request that is not already pictured on my Etsy shop? Just let me know…I love a challenge.
No need to make the entire quilt…here are some adorable pillows made from my Pit Bull block. Thanks to Edie for sharing this photo.
 Thanks for stopping by!
Linking up this week with:
Quilting is More Fun Than Housework
Confessions of a Fabric Addict