Growing up on a dairy farm in Wisconsin has instilled a life long love of animals. The “Farmyard Stars” quilt was motivated by all my lovely memories of animals and pets that we saw on our farm every day.
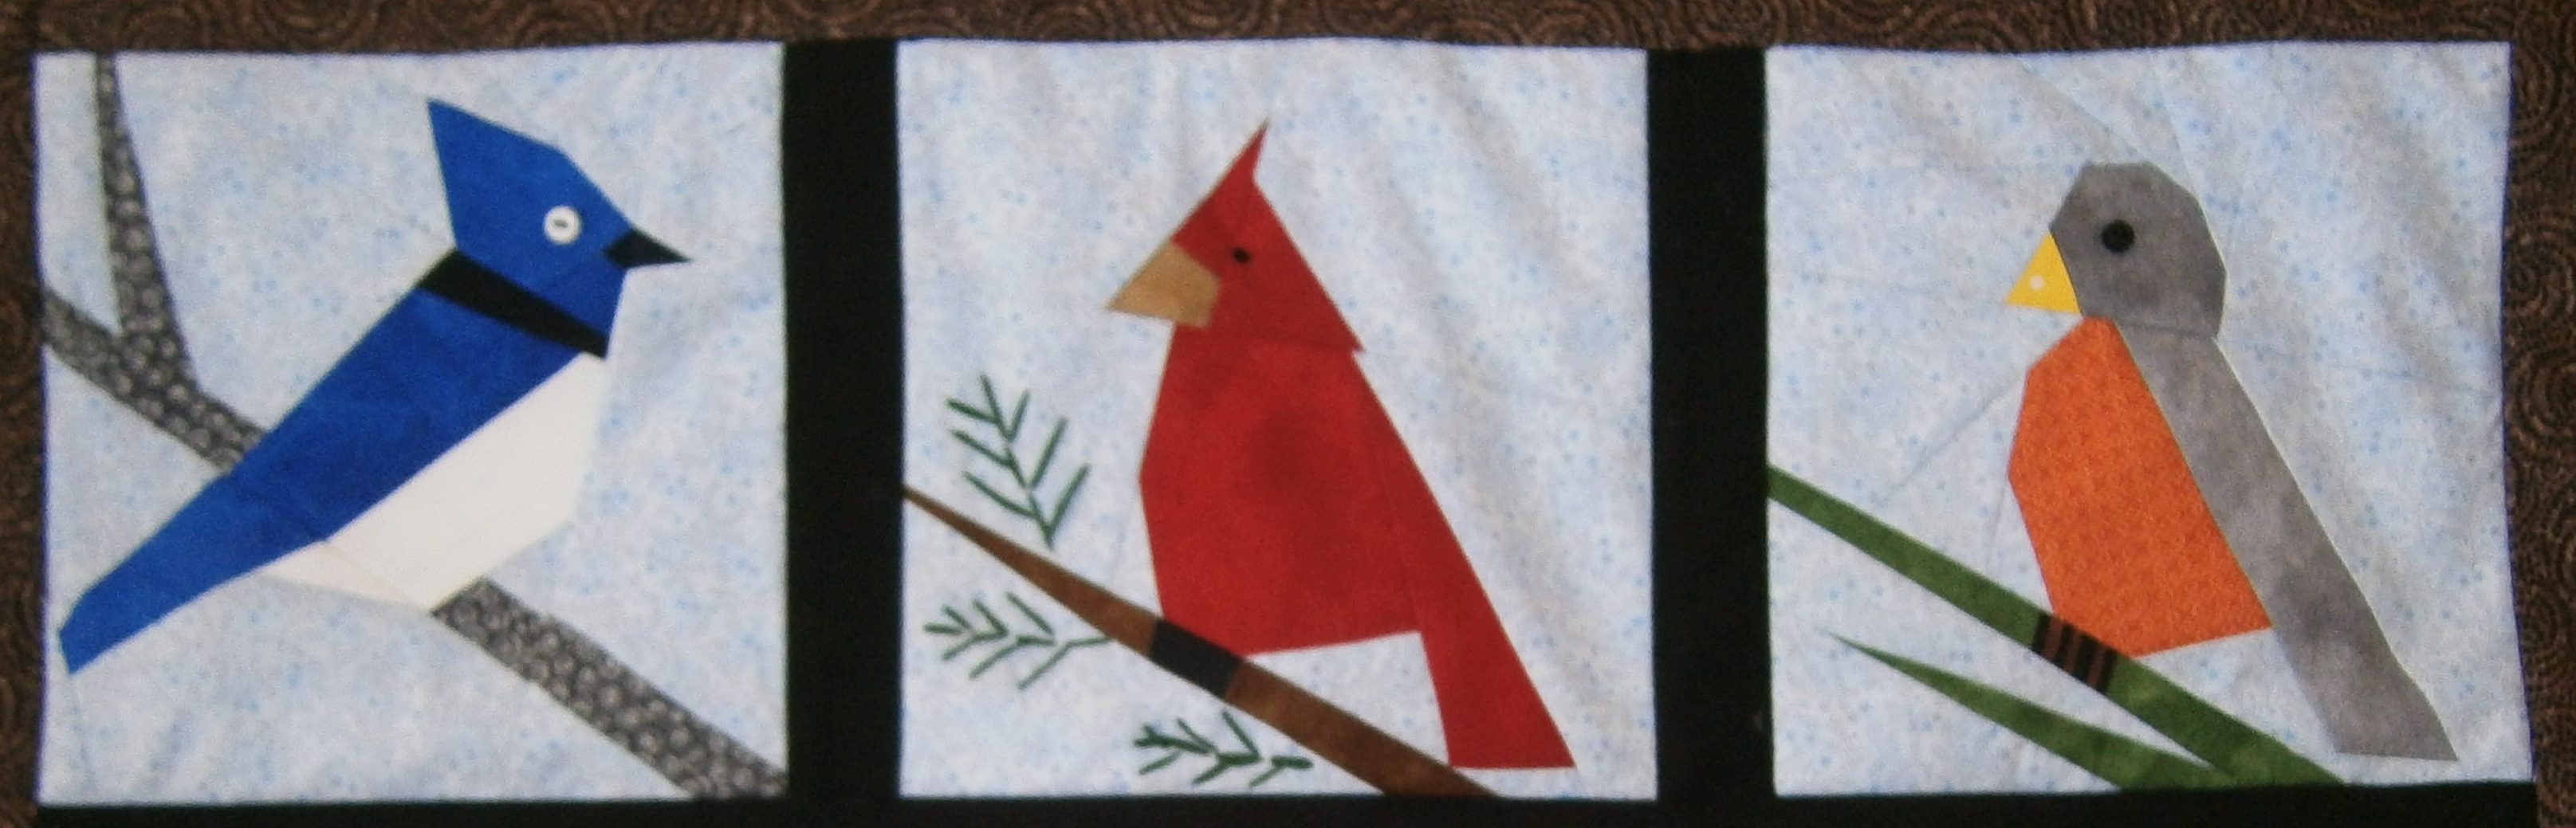
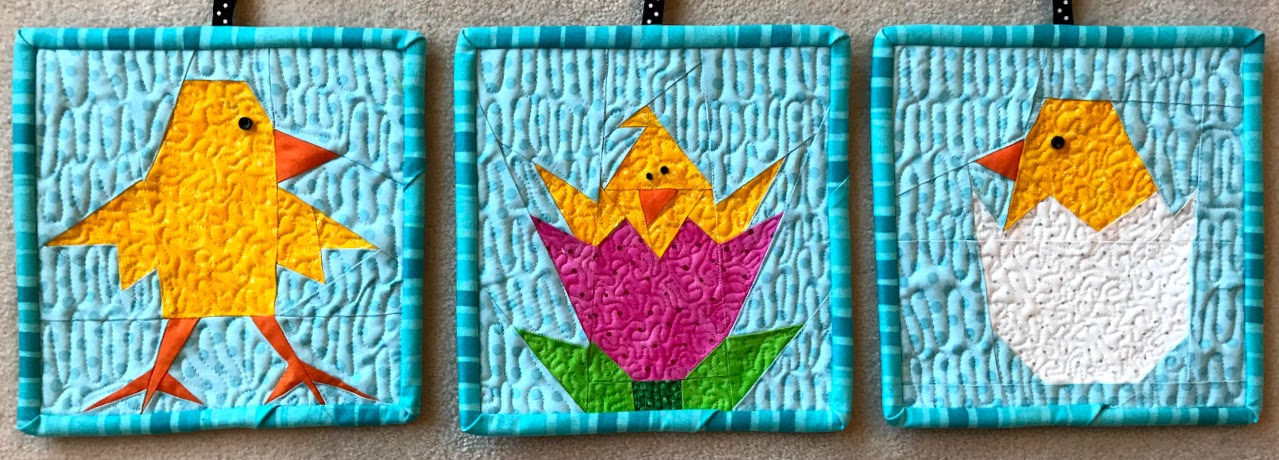
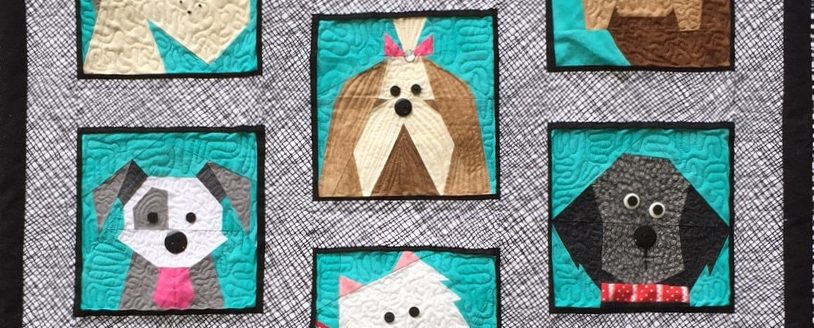
![]() I love everything about this design. The animals are bold and bright with whimsical expressions. The black and white border presents a calming, yet quirky frame to the colorful animals. The animal sounds were machine embroidered in the sashing, but could also be satin stitched, appliqued, or skipped altogether.
I love everything about this design. The animals are bold and bright with whimsical expressions. The black and white border presents a calming, yet quirky frame to the colorful animals. The animal sounds were machine embroidered in the sashing, but could also be satin stitched, appliqued, or skipped altogether.
 I have a hard time choosing my favorite animal, but “Demi Moo” the cow is right up near the top. Remember, these are farmyard STARS, so each is named after a celebrity.

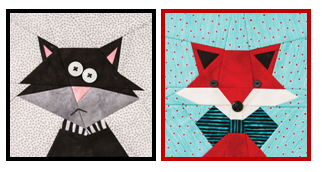
Here’s “Kitty Purry” the cat.
 “Pig-Casso” the pig…

“Lady Baa Baa” the sheep…
 And, another one of my favorites, “Pony Danza” the horse. Love those teeth! I have designed lots of horses, but he is precious.
To see the names of the other animals you will have to check out the pattern at Etsy or Craftsy.
Linking this week with:
Confessions Of A Fabric Addict
Quilting Is More Fun Than Housework
Tish’s Adventures In Wonderland
Confessions Of A Fabric Addict